Creating the data source
Oracle is a relational database created in the late 1970s and is still in use today. The pipeline of data from Oracle to the Data Warehouse created by Kondado allows you to replicate your tables and views to your analytical cloud, in full or incrementally (capturing new and updated data).
Adding the data source
To automate Oracle ETL with Kondado for your database, follow the steps below:
1) Add the Kondado IPs in the database server (and in your VPC) for the port that will be used to connect with Oracle (usually 1521)
2) On Kondado platform, go to the add data sources page and select the Oracle data source
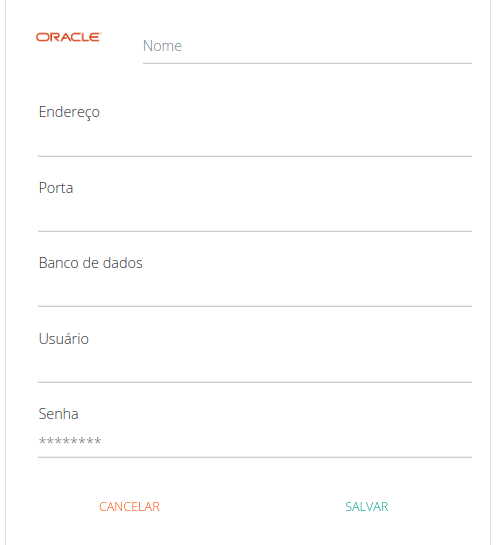
3) Name your data source and fill in your database information
Now all you have to do is save the data source and start integrating Oracle data into the Data Lake or Data Warehouse.
Pipelines
Summary
Relationship chart
Click to expand

Notes
- With our pipeline, you will be able to integrate tables as well as views
- If your table has a datetime/timestamp type column that marks when a record was changed/inserted, your pipeline can be incremental
- It will be necessary to define the primary key, which can be defined by several columns and refers to the column (or set of columns) that define a record as being unique
- There's a 1h timeout to read a block of data
- Fields that are created as type text will undergo a transformation that will try to convert special characters into their equivalents (for example "é" becomes "e"). If this is not possible, the character will be removed
- Part of this documentation was automatically generated by AI and may contain errors. We recommend verifying critical information
Add Oracle as a Data Source on Kondado
Configure your Oracle database connection to replicate tables and views into your cloud data warehouse using Kondado's ETL pipeline.
Whitelist Kondado IPs on your database server
Add the Kondado IPs in your database server (and in your VPC) for the port used to connect with Oracle, usually 1521. This allows secure access for data integration pipelines.
Select Oracle on the Kondado platform
On the Kondado platform, navigate to the add data sources page and select the Oracle data source to begin setting up your connection.
Configure connection details
Name your data source and fill in your database information, including credentials and connection parameters required for Oracle authentication.
Define tables, views, and primary keys
Choose which tables and views to replicate. Define the primary key (can be multiple columns) that uniquely identifies each record. If your table has a datetime/timestamp column marking when records change, you can set up incremental data transformation to capture only new and updated data.
Save and start integration
Save the data source and begin integrating Oracle data into your Data Lake or Data Warehouse. Note that fields created as text will have special characters converted or removed during processing.