Creating the data source
Webhooks can be considered as “reverse APIs”: instead of our platform proactively reading the information, it is the data source that sends the data to our platform and we insert it from the webhook to the Data Warehouse.
Adding the data source
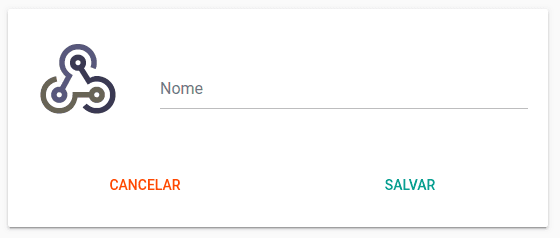
2) Once on our platform, go to the add data sources section and select the Webhook data source and add it. You don't need to provide access information at this point, just give your new data source a name and save it
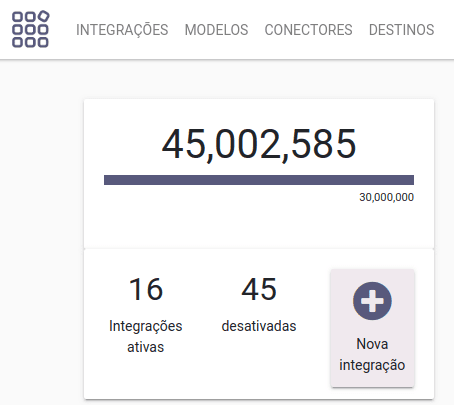
3) With the data source added, go to the pipelines section and click on “New pipeline”
4) Follow the normal flow of creating pipelines, selecting the new webhooks data source as the source
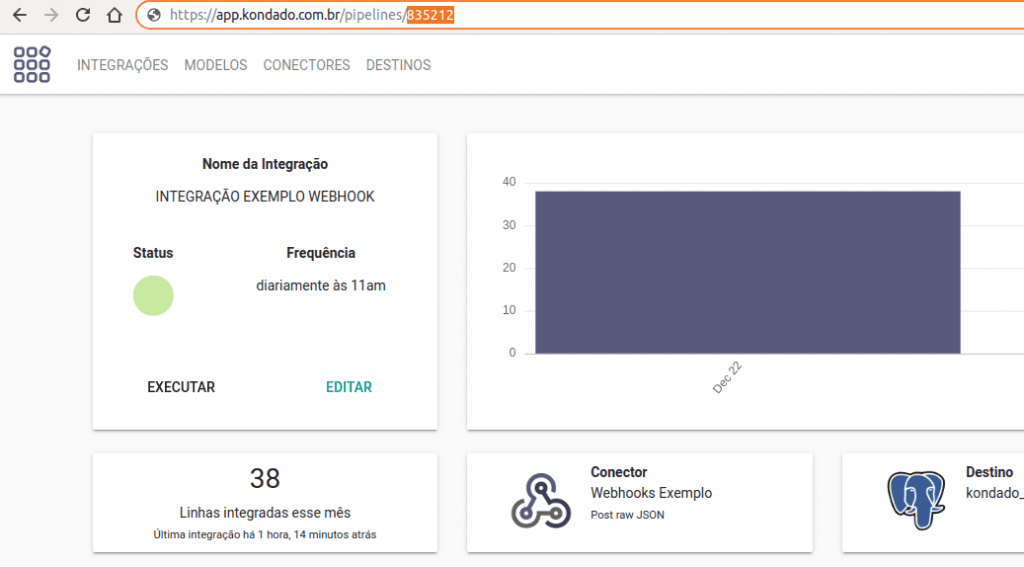
5) Once the pipeline has been created, access it and, in your browser's address bar, copy the pipeline id, which is the numeric code at the end of “app.kondado.com.br/pipelines/XXXX”
Sending information to your Webhook
Your new webhook accepts POST type requests and will send the body of the call to your destination, which must be a JSON type.
Your webhook address is composed as follows:
Base URL
https://k1.kondado.com.br
Mandatory Parameters
pipeline_id: your pipeline ID, obtained in step (5)
key: key of your token, obtained in step (1)
token: your token, obtained in step (2)
URL Example
Combining the base URL and parameters, your call will look like this:
https://k1.kondado.com.br?pipeline_id=835212&token=oseutokenaqui&key=achavedoseutokenaqui
With your URL created, just add it to your tool or application and make posts in it with the body you want to send to your datawarehouse.
ATTENTION: Be careful not to confuse token and key when adding them in the URL. To differentiate them more easily, remember that the key will have a format with hyphens, such as “d538b946-9d55-405a-9bd2-72d74b1cb8f5” and the token will be a long sequence of numbers and letters, but without hyphens
See an example of using webhooks
Webhook Response Codes
The URL response will return code 200 on success and 400 on failure. In the response there will be a JSON, the format of which can be:
Insert Successful
The successful insertion will return a JSON in the format below, where the variable “success” will come as true and there will be another variable “data”, which contains information about the request.
{
     "success": true,
   "data": {
       "__kdd_request_id": "rydjemeilmsqkqvjtfkc",
       "__kdd_request_unix_timestamp": [numero]
   }
}__kdd_request_id: id of the webhook run, which will be inserted into your data warehouse
__kdd_request_unix_timestamp: UNIX timestamp (in UTC) that indicates when the request happened. It will also be inserted into your data warehouse
You can use the variables sent in “data” to keep some kind of log in your application.
Successful insertion does not mean that your data will be processed. After receiving a successful response, the data will still go through an authentication validation in a second moment and the negative authentication response will not be returned – the data will just be discarded. You will be able to check the positive response once the data is entered at your destination.
Insertion Failed
The unsuccessful insertion returns a JSON like the one below, where “success” will be false and the “error” variable will bring the error code found.
{
     "success": false,
     "error": "ERROR_CODE"
}
Error codes and their meanings:
MISSING_PARAMETER: parameter_key.Indicates that the URL is badly formatted and the parameter indicated by parameter_key was not provided (recalling that the pipeline_id, key and token parameters are mandatory)
INVALID_PARAMETER: parameter_key. the parameter value entered is invalid
NO_PARAMETERS_PROVIDED. Indicates that the URL is badly formatted and no parameters were provided
NO_BODY_PROVIDED. Indicates that nobody was supplied during POST
Pipelines
Summary
Relationship chart
Click to expand

Notes
- Part of this documentation was automatically generated by AI and may contain errors. We recommend verifying critical information
Add a Webhook Data Source on Kondado
Configure a Webhook source so external tools can POST event data into Kondado, which then writes it to your destination.
Create an authentication token
Read the platform's token management guide and create an access token that will authenticate your incoming webhook requests.
Add the Webhook data source
In Kondado, open the add data sources section, select Webhook, give it a name and save it. No access credentials are required at this stage.
Create a pipeline for the webhook
Go to the pipelines section, click New pipeline and select your newly created Webhook source, following the standard pipeline creation flow.
Copy the pipeline ID
Open the pipeline and copy the numeric ID at the end of the URL app.kondado.com.br/pipelines/XXXX from your browser's address bar.
Build and use the webhook URL
Combine the base URL https://k1.kondado.com.br with the mandatory pipeline_id, key and token parameters, then configure your external tool to POST JSON payloads to the resulting URL.
Frequently asked questions
__kdd_request_body field and inserted into your destination, so any valid JSON payload from your source tool is supported.d538b946-9d55-405a-9bd2-72d74b1cb8f5. The token is a longer alphanumeric string with no hyphens. Both parameters are required in the URL — swapping them is a common mistake.{"success": true} with request metadata. A 400 means the call failed and returns {"success": false} with an error code such as MISSING_PARAMETER, INVALID_PARAMETER, NO_PARAMETERS_PROVIDED or NO_BODY_PROVIDED.