In the current data-driven scenario, the ability to store, manage, and access data efficiently is essential. Whether you are an experienced data professional or just a beginner, the need for a robust and scalable data storage solution is undeniable. We present our tutorial to help you get started with Azure SQL Database as a data destination in Kondado.
By the end of this tutorial, you will have a clear understanding of:
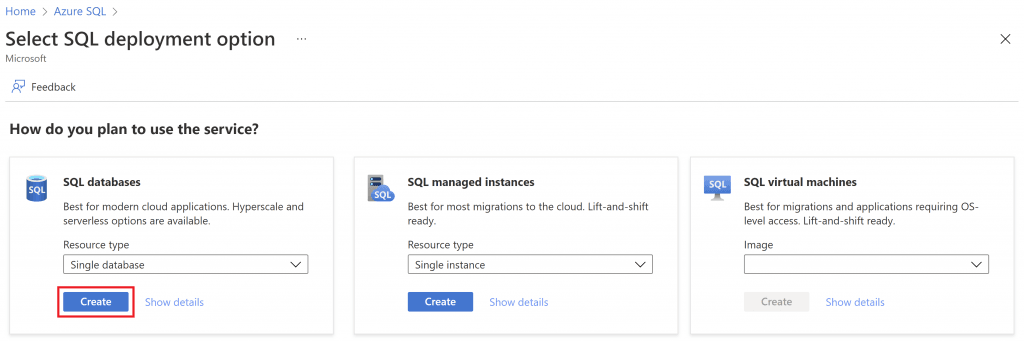
Step-by-step instructions to set up your database.
Instructions on how to allow access in your firewall to Kondado's servers.
The Azure SQL Database is equivalent to Kondado's Microsoft SQL Server data destination. We based this tutorial on these articles from Azure to create a database and allow access in your firewall.
In Resource group, click on Create new and type a name for your resource group, for example, “new_rg”
3. Database name
In Database name, choose a name for your database, for example, “kondado”
4. Server configuration
And, in Server, click on Create new
On the server configuration page, you should type in Server name a name for it. This name will become an address, so it needs to be unique. The created address will be server_name.database.windows.net, where server_name is the value you filled in this step.
Then, in Authentication > Authentication method select Use SQL authentication and define a username in Server admin login and define and repeat a password for this user in Password and Confirm password
Click OK at the end and you will be redirected to the database configuration page
5. Finishing basic configuration
Back to the Basics page, in Workload environment you can select Development to reduce your costs at this first moment
Your page should look similar to the image below. Click the Next: Networking > button at the end to proceed to network configuration
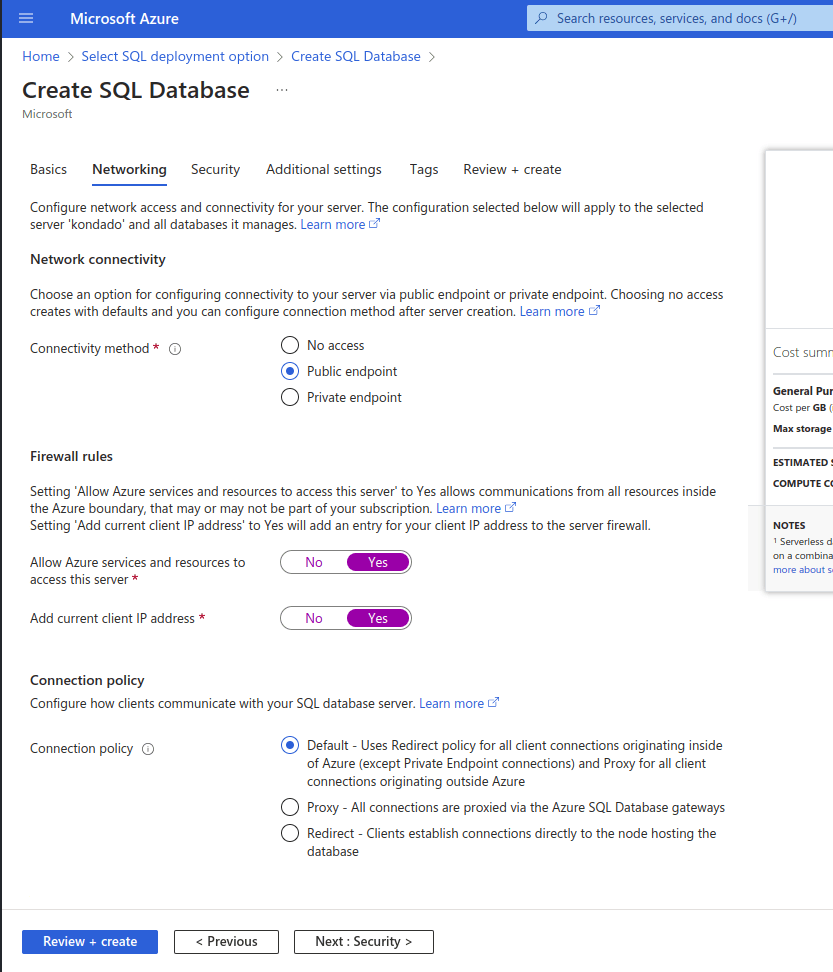
6. Network configuration
On the Networking page, in Connectivity method select Public endpoint
In Firewall rules, mark Yes for Allow Azure services and resources to access this server and Add current client IP address
Then, click the button at the end Review + create
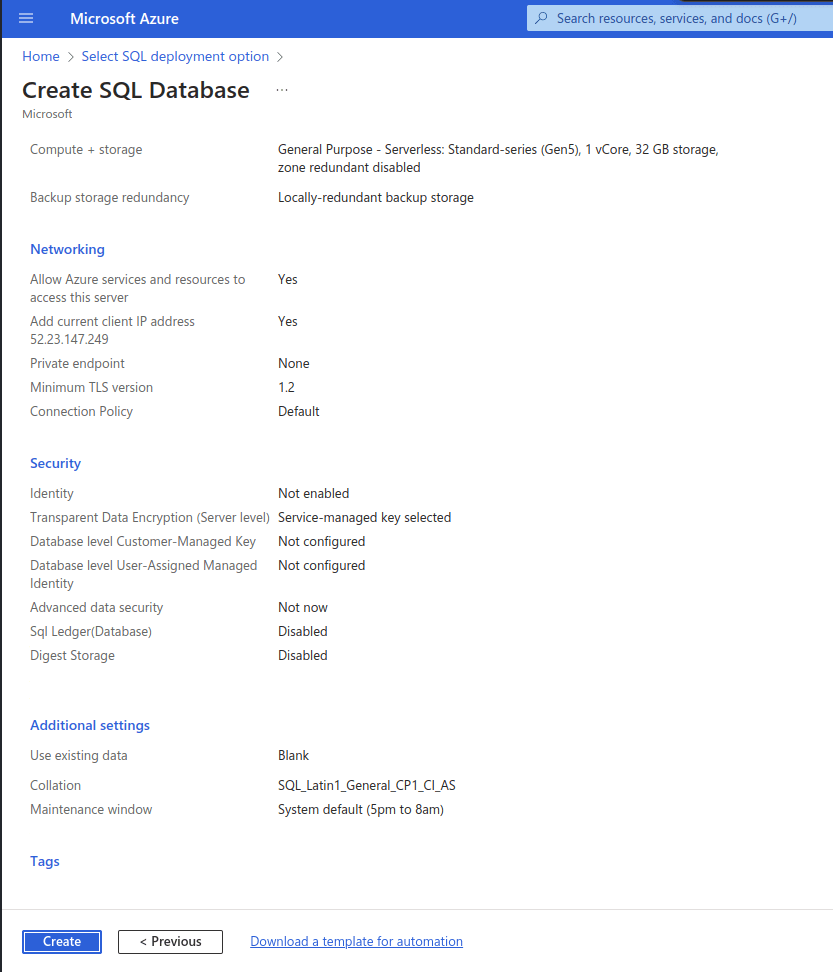
7. Finalizing creation
Review the creation data and, at the end, click Create
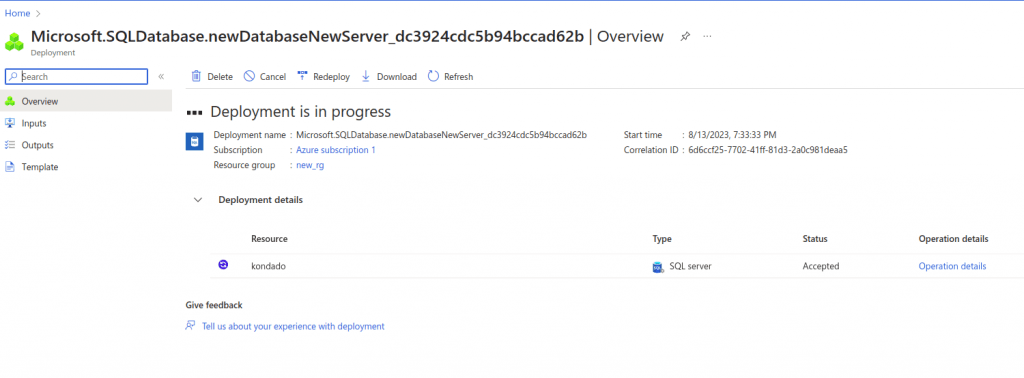
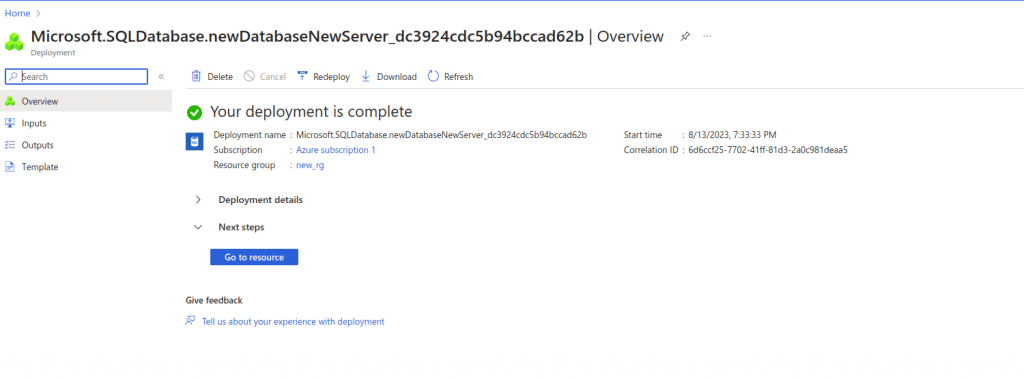
On the next page, wait for the resource to be created
Once finished, click the Go to resource button
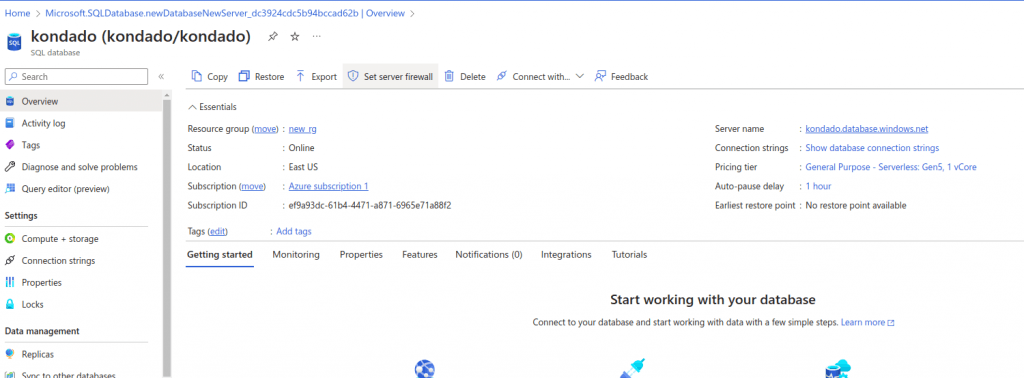
8. Firewall whitelist
On the resource page, click on the Set server firewall tab
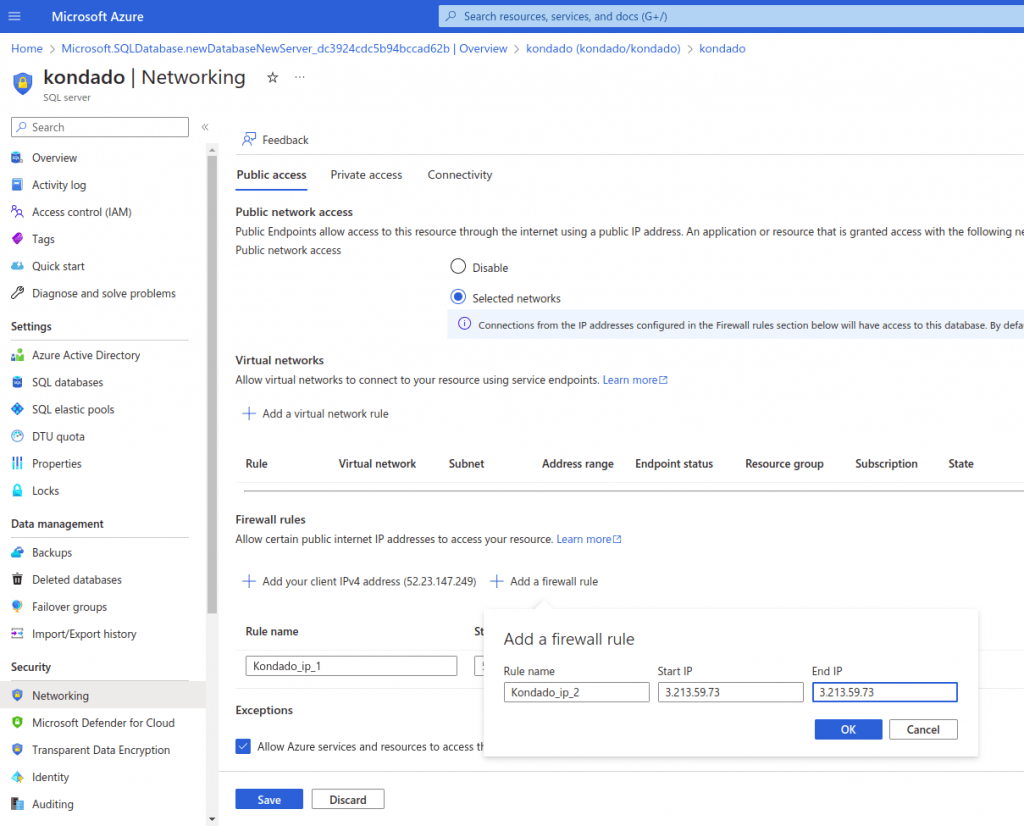
In Public network access, select Selected networks
In Firewall rules, click on + Add a firewall rule and add all Kondado IPs, removing the “/32” and copying the Start IP and End IP value for each line
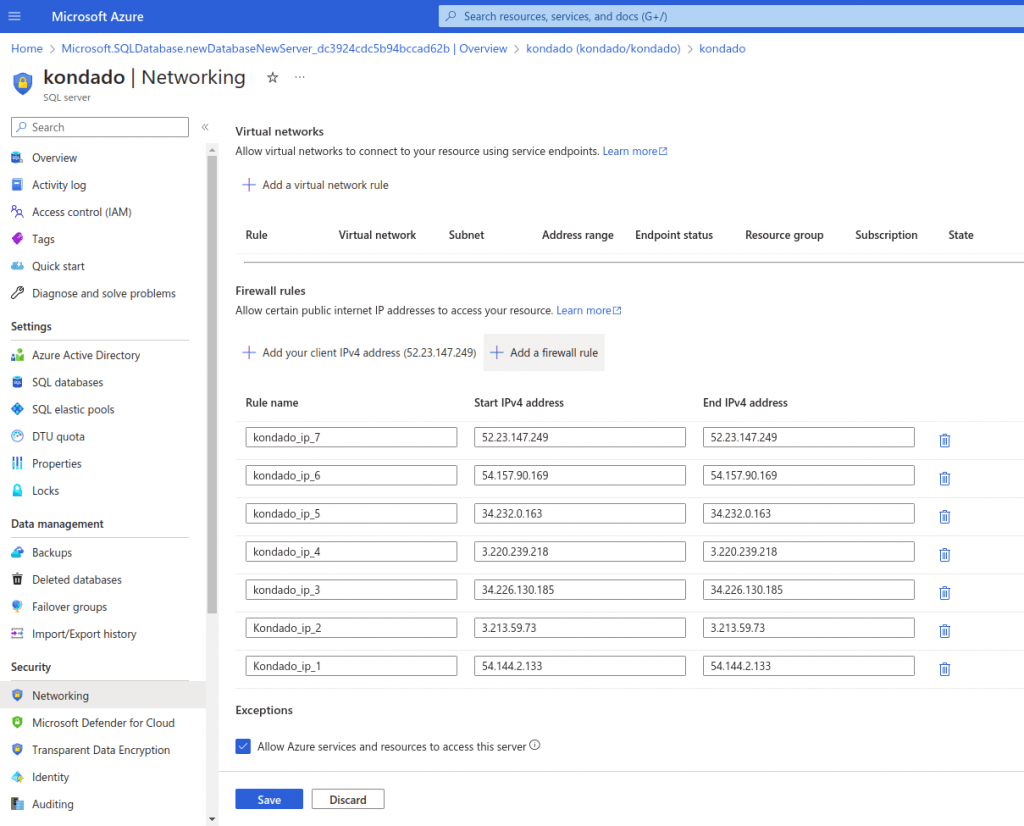
Your firewall whitelist page should look similar to the one below. Then, click the Save button
9. Adding your data destination in Kondado
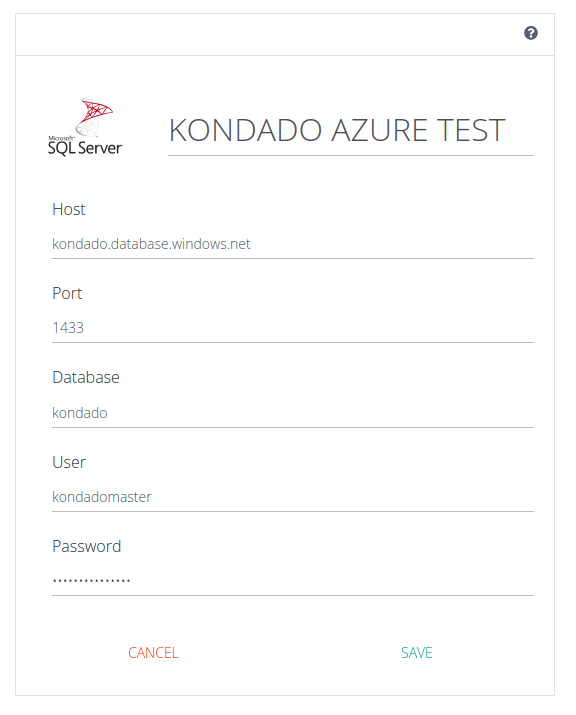
Access the Kondado platform > Data Destinations > New data destination > Microsoft SQL Server
In Address, enter the Server name value generated in step 4 (in our example, kondado.database.windows.net)
In Port, leave 1433
In Database, enter the Database name value created in step 3
In User and Password, enter the values created in Server admin login in step 4
Now just save your data destination and test your connection
Create an Azure SQL Database for Kondado
Provision an Azure SQL Database, configure firewall and credentials, and use it as a Microsoft SQL Server destination in Kondado.
1
Create the Azure SQL Database resource
In the Azure portal, create a new Azure SQL Database. Choose Development as the workload environment to keep costs low while testing.
2
Configure server name and authentication
Define a unique server name (the full address will be server_name.database.windows.net) and select Use SQL authentication. Set a Server admin login and password — you will need them in Kondado.
3
Allow Kondado IPs through the firewall
Go to Set server firewall, set Public network access to Selected networks, and add a firewall rule for each Kondado IP listed in the documentation.
4
Register the destination in Kondado
In Kondado, create a new destination and select Microsoft SQL Server. Use the server address, default port 1433, database name, and the SQL credentials you set in Azure.
5
Test and start replicating data
Click Test connection. Once it succeeds, create your sources and pipelines so data lands in your Azure SQL Database, ready for Power BI, Looker Studio, or other BI tools.
Frequently asked questions
What is the difference between Azure SQL Database and Microsoft SQL Server in Kondado?▼
Azure SQL Database is equivalent to Kondado's Microsoft SQL Server data destination. When configuring your destination in Kondado, you should select Microsoft SQL Server even though your database is hosted on Azure.
How do I find the server address for my Azure SQL Database?▼
During server configuration in Azure, you define a unique server name. The full address will be in the format server_name.database.windows.net (for example, kondado.database.windows.net). You will use this exact address when adding your data destination in Kondado.
Which authentication method should I use when creating the Azure SQL Database server?▼
You should select Use SQL authentication as the authentication method. Then define a username for the Server admin login and set a password. These credentials will be needed later when connecting Kondado to your database.
What firewall settings are required to allow Kondado to connect to my Azure SQL Database?▼
In the Azure portal, go to Set server firewall, select Selected networks for Public network access, and add firewall rules for all Kondado IP addresses. For each IP, remove the "/32" and copy the same value to both Start IP and End IP fields, then click Save.
What port should I use when configuring the Microsoft SQL Server destination in Kondado?▼
You should leave the default port 1433 when configuring your Microsoft SQL Server destination in Kondado. This is the standard port for SQL Server connections.
How can I reduce costs while setting up my Azure SQL Database for testing?▼
During the Basic settings configuration, select Development in the Workload environment field. This option reduces costs while you are in the initial setup and testing phase with Kondado.
Written byThassyo Pereira·Published 2023-08-14·Updated 2026-06-10