You can connect Metabase to your Via Kondado destination through Kondado's PostgreSQL endpoint (kdb.kondado.io). Any tool that speaks the Postgres protocol connects to this endpoint using your destination token as the password — no special connector required. Once connected, your destination tables show up automatically and you can explore them inside Metabase.
Before you start
- You need an active Via Kondado destination in your account. If you don't have one yet, see how to create Via Kondado.
- Have your destination's access token ready — it will be used as the connection password. It is the same token used for the other access methods (Link, MCP, etc.). See how to get your token.
- Metabase already ships with the PostgreSQL driver built in — nothing to install.
Connection details (keep these for the steps below): Type/driver: PostgreSQL • Host: kdb.kondado.io • Port: 5432 • Database name: kdb • Username: any value (e.g. kondado) • Password: your Via Kondado destination token • SSL: required.
Step by step
1. In Metabase, click the gear icon ⚙ in the top-right corner and open Admin settings → Databases tab → Add database. Under Database type, select PostgreSQL.
2. Fill in the connection fields exactly like this:
- Host:
kdb.kondado.io - Port:
5432 - Database name:
kdb - Username: any value, e.g.
kondado(authentication is done by the password only) - Password: your Via Kondado destination token
- Check the “Use a secure connection (SSL)” option — the SSL connection is required
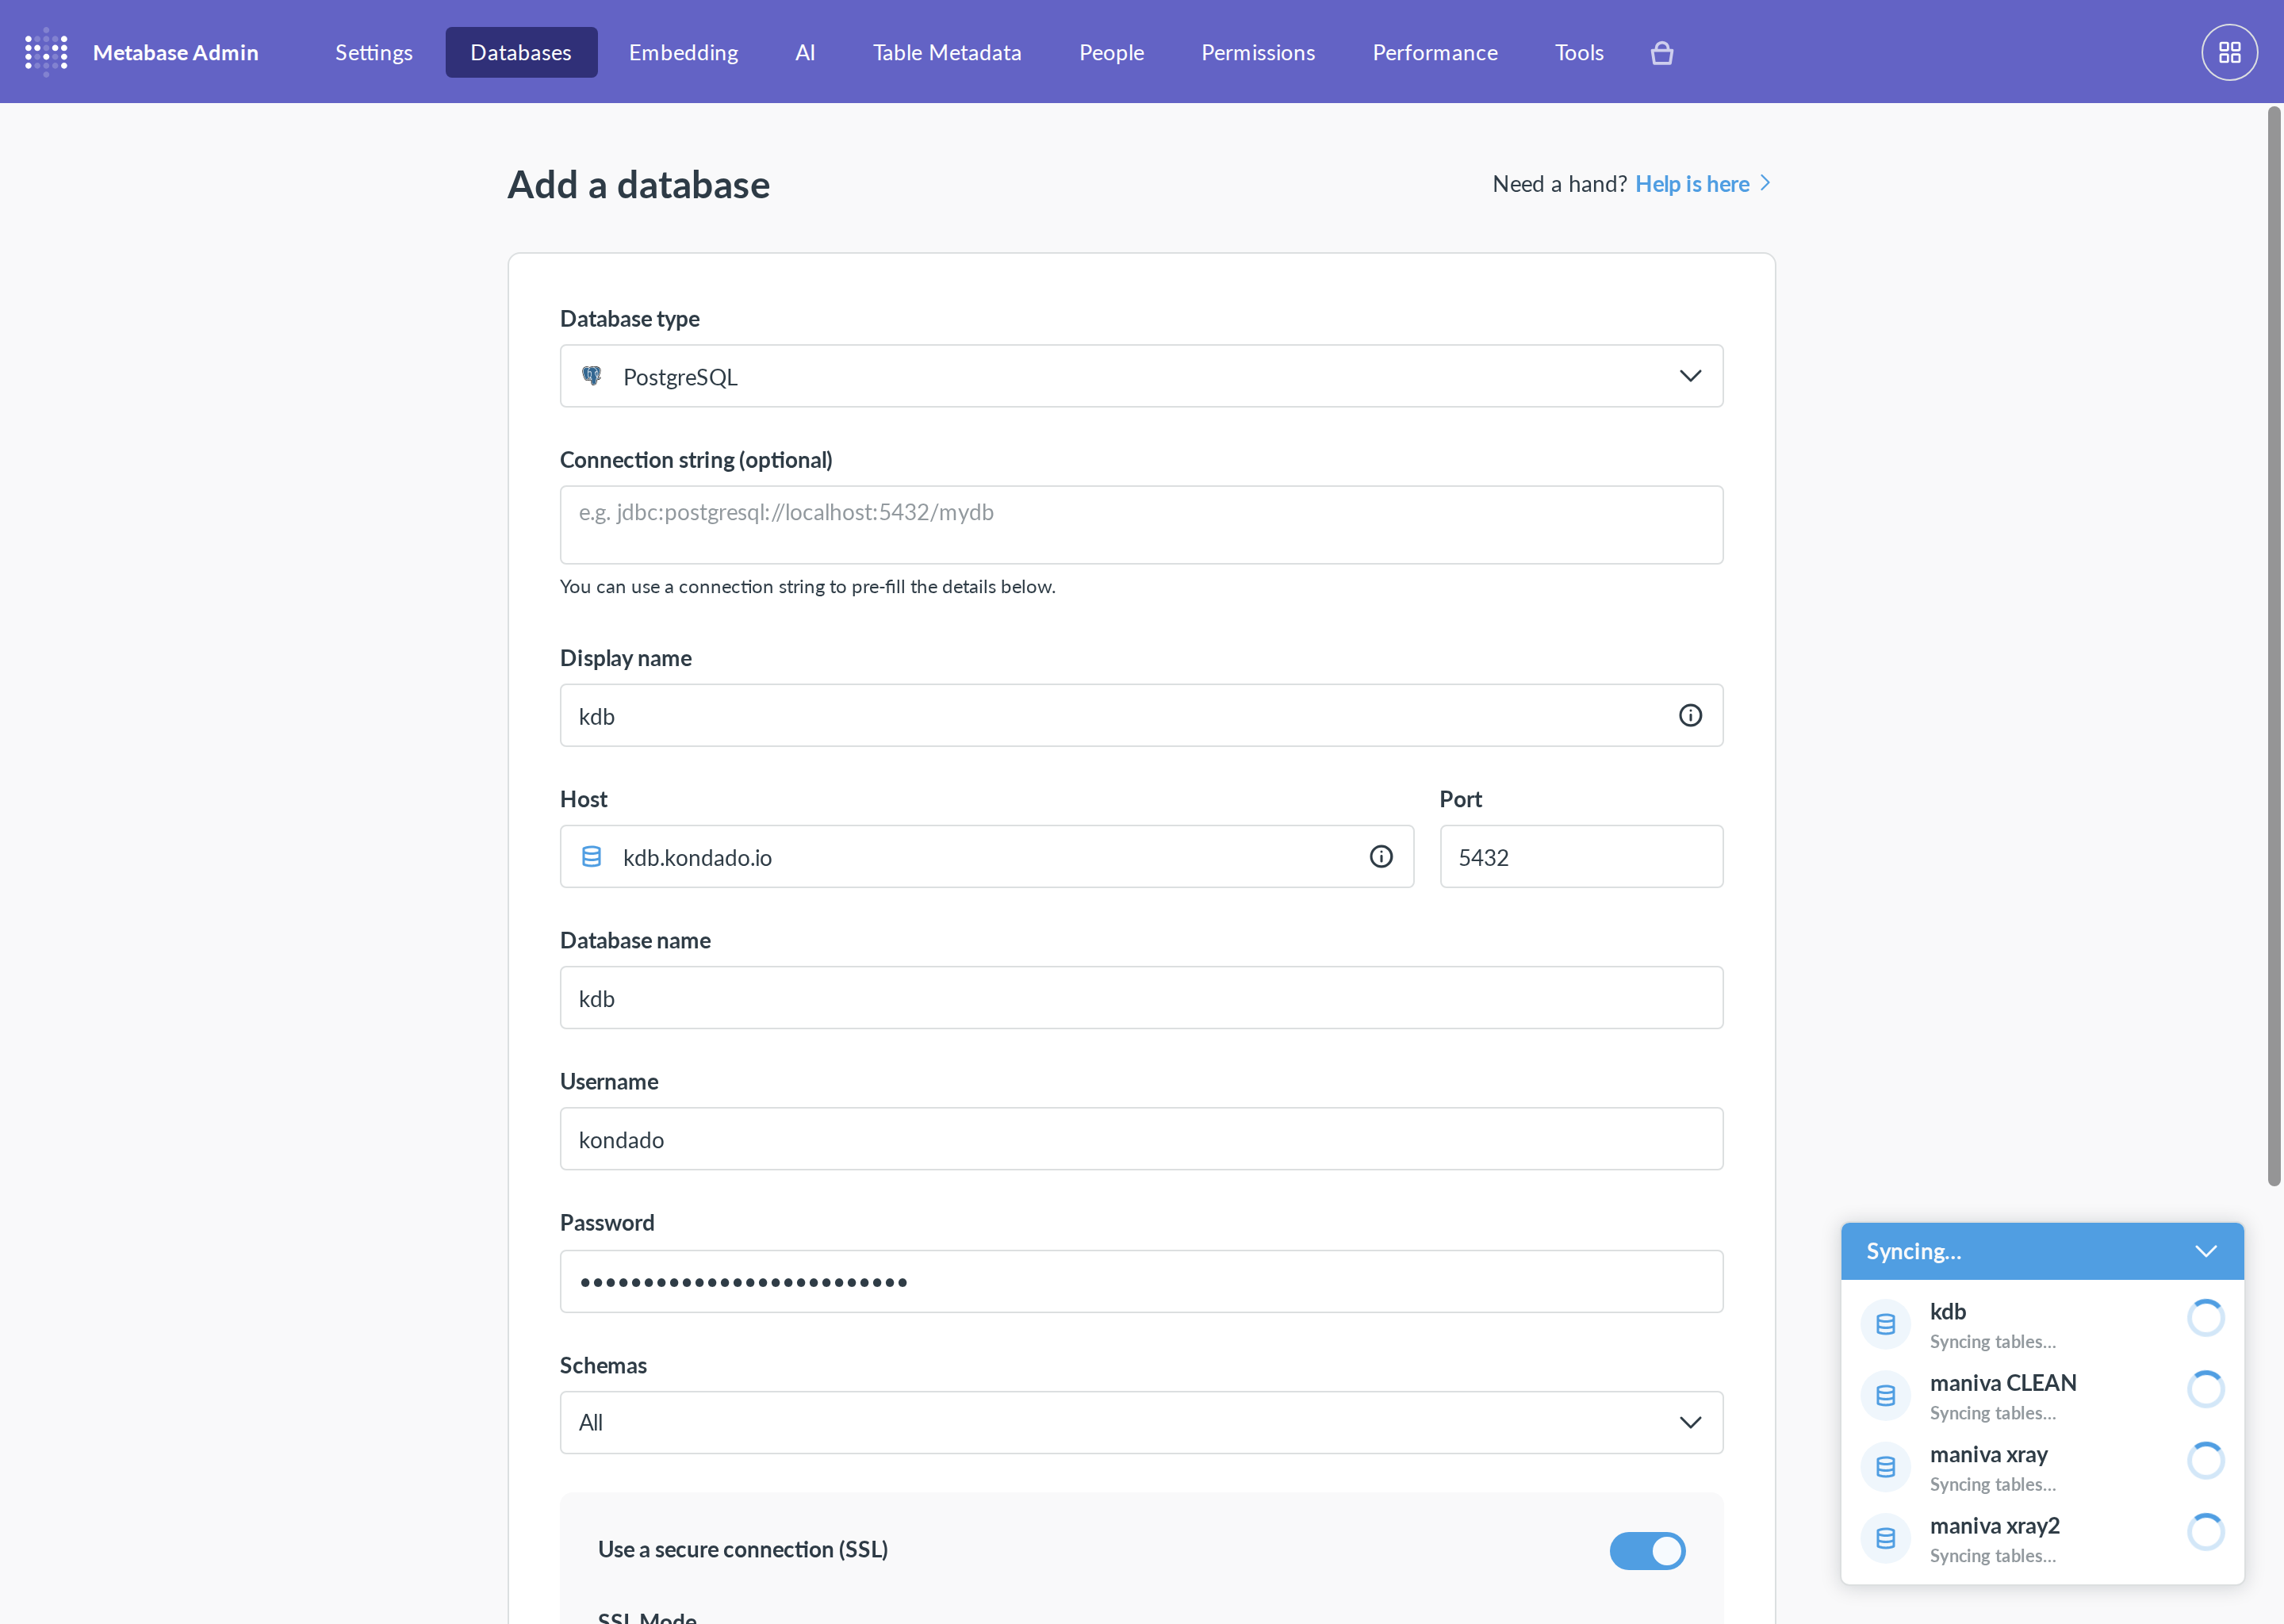
3. Click Save. Metabase will test the connection and sync the schema. Your Via Kondado destination tables will appear under the newly added database.
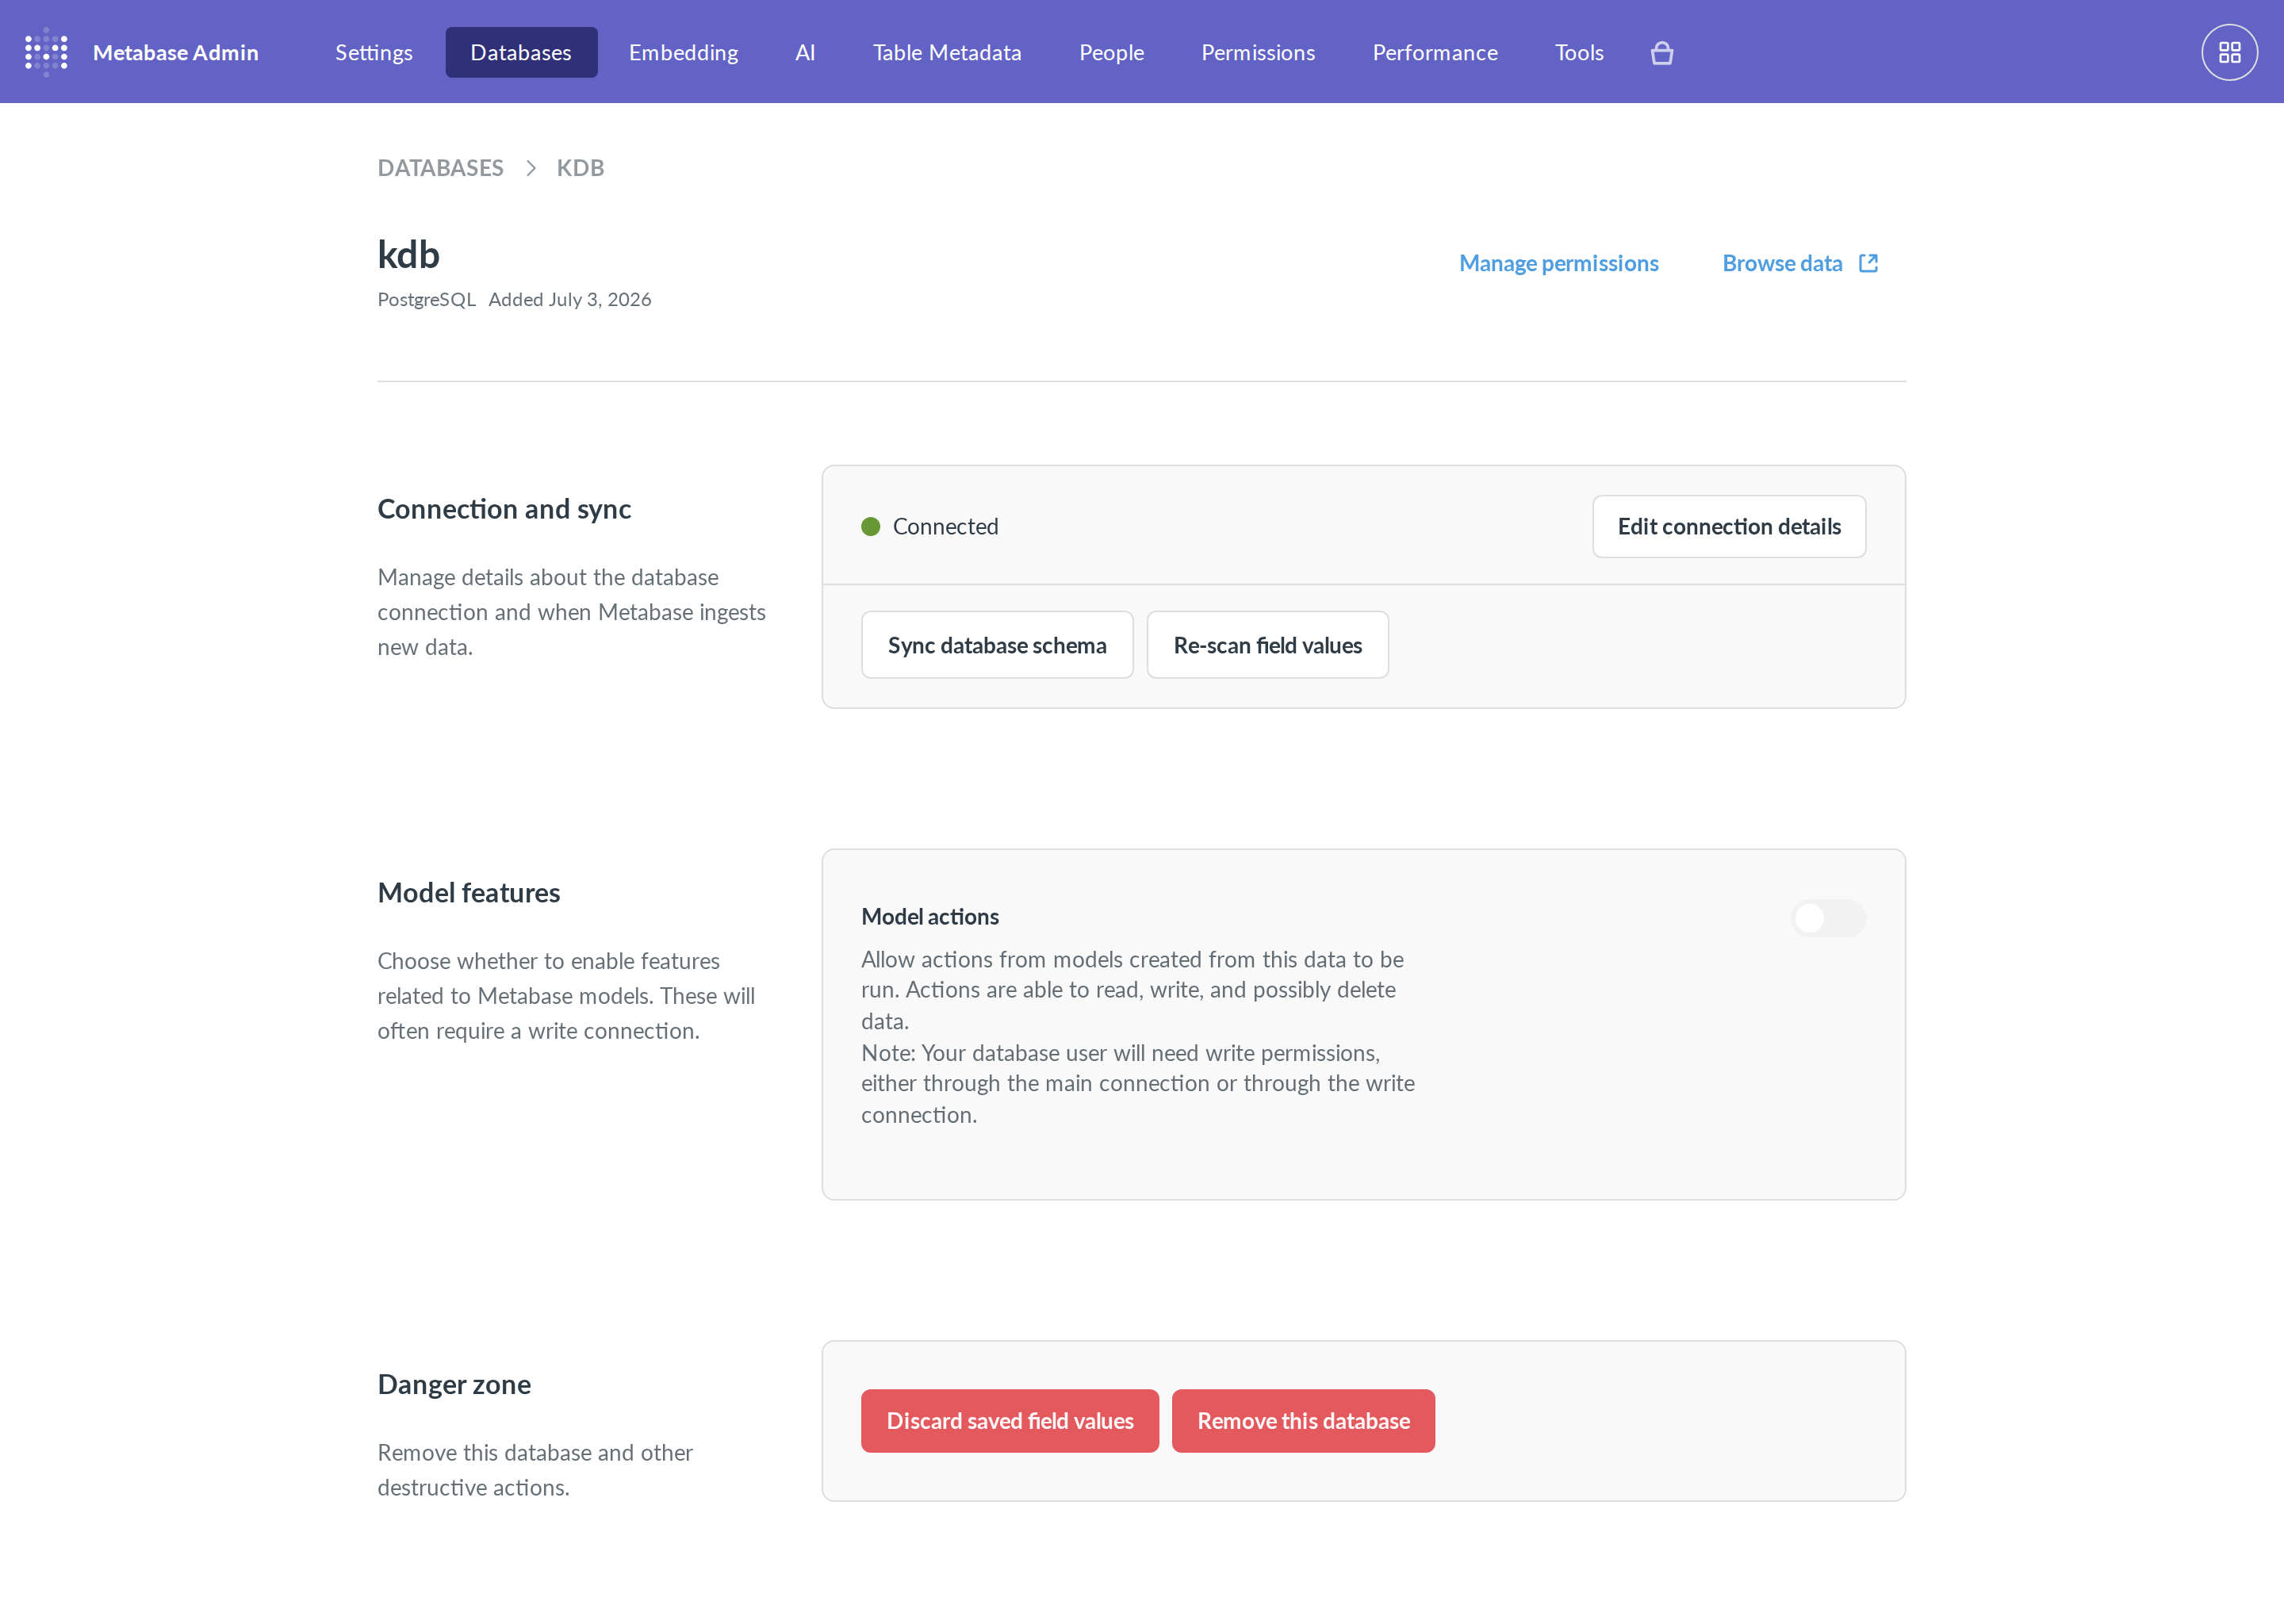
4. That's it! Go to Browse data, pick the database you created and open any table to view the data.
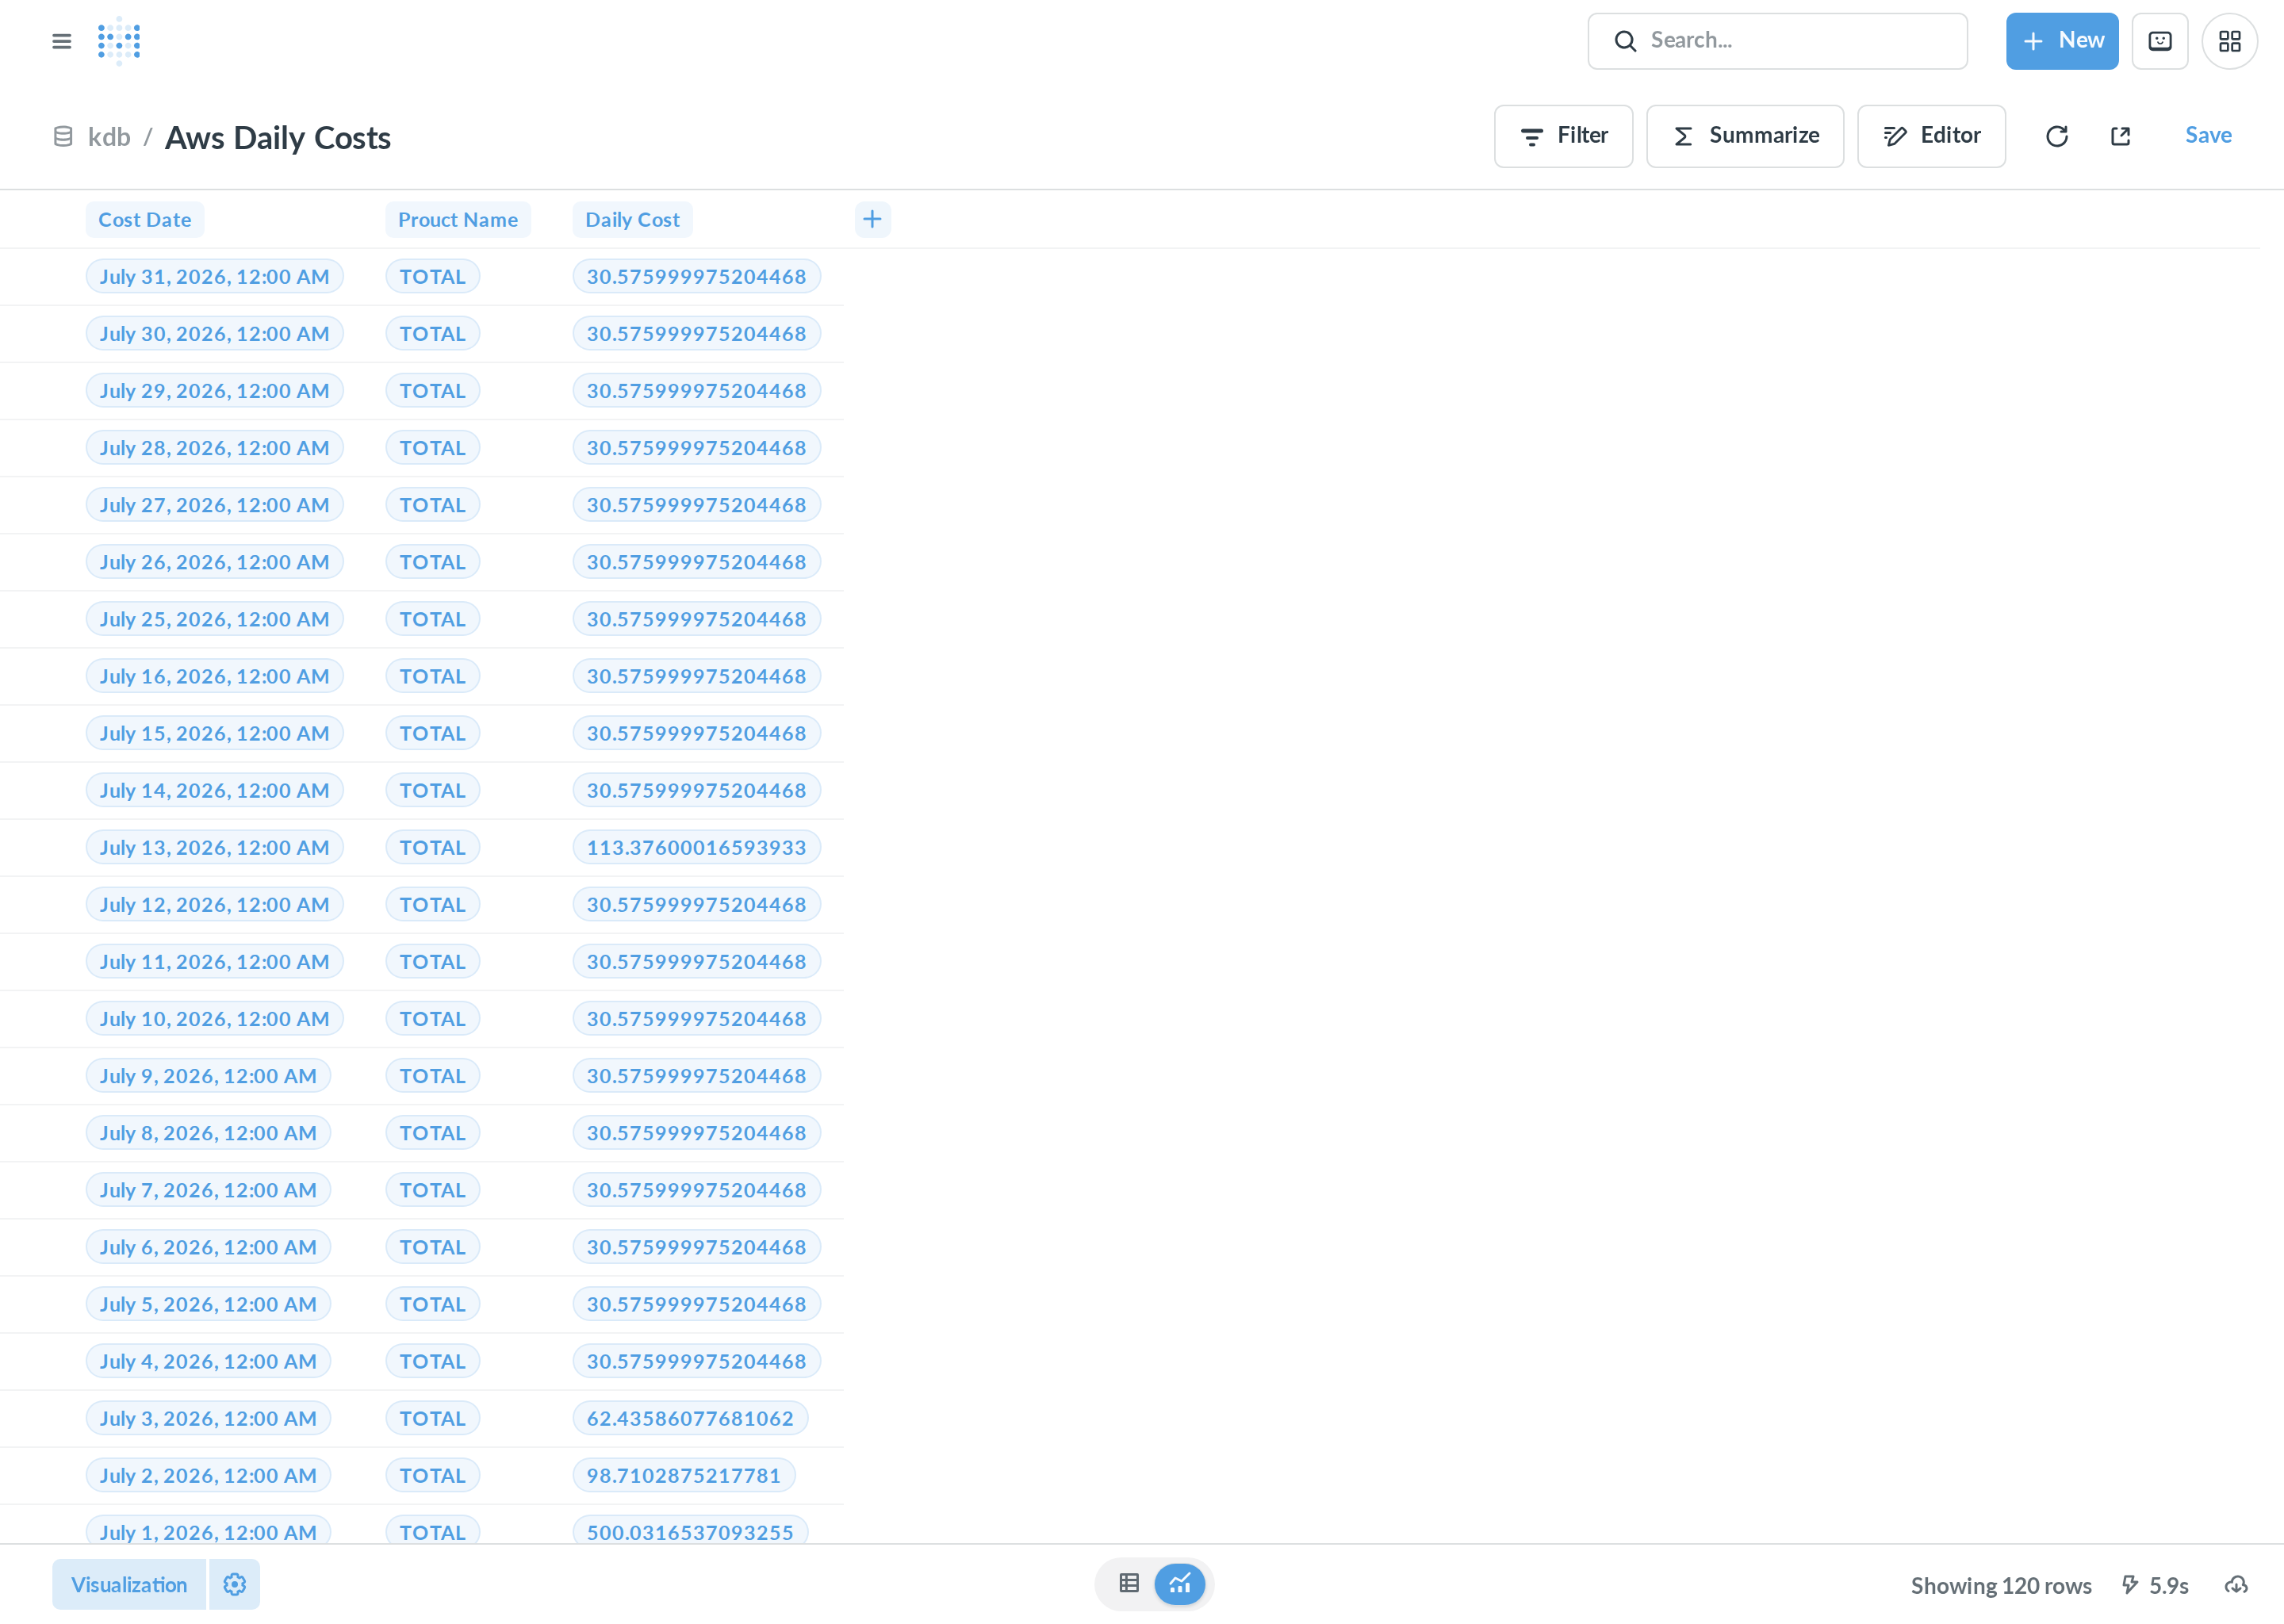
After connecting
- All of your destination tables appear in the
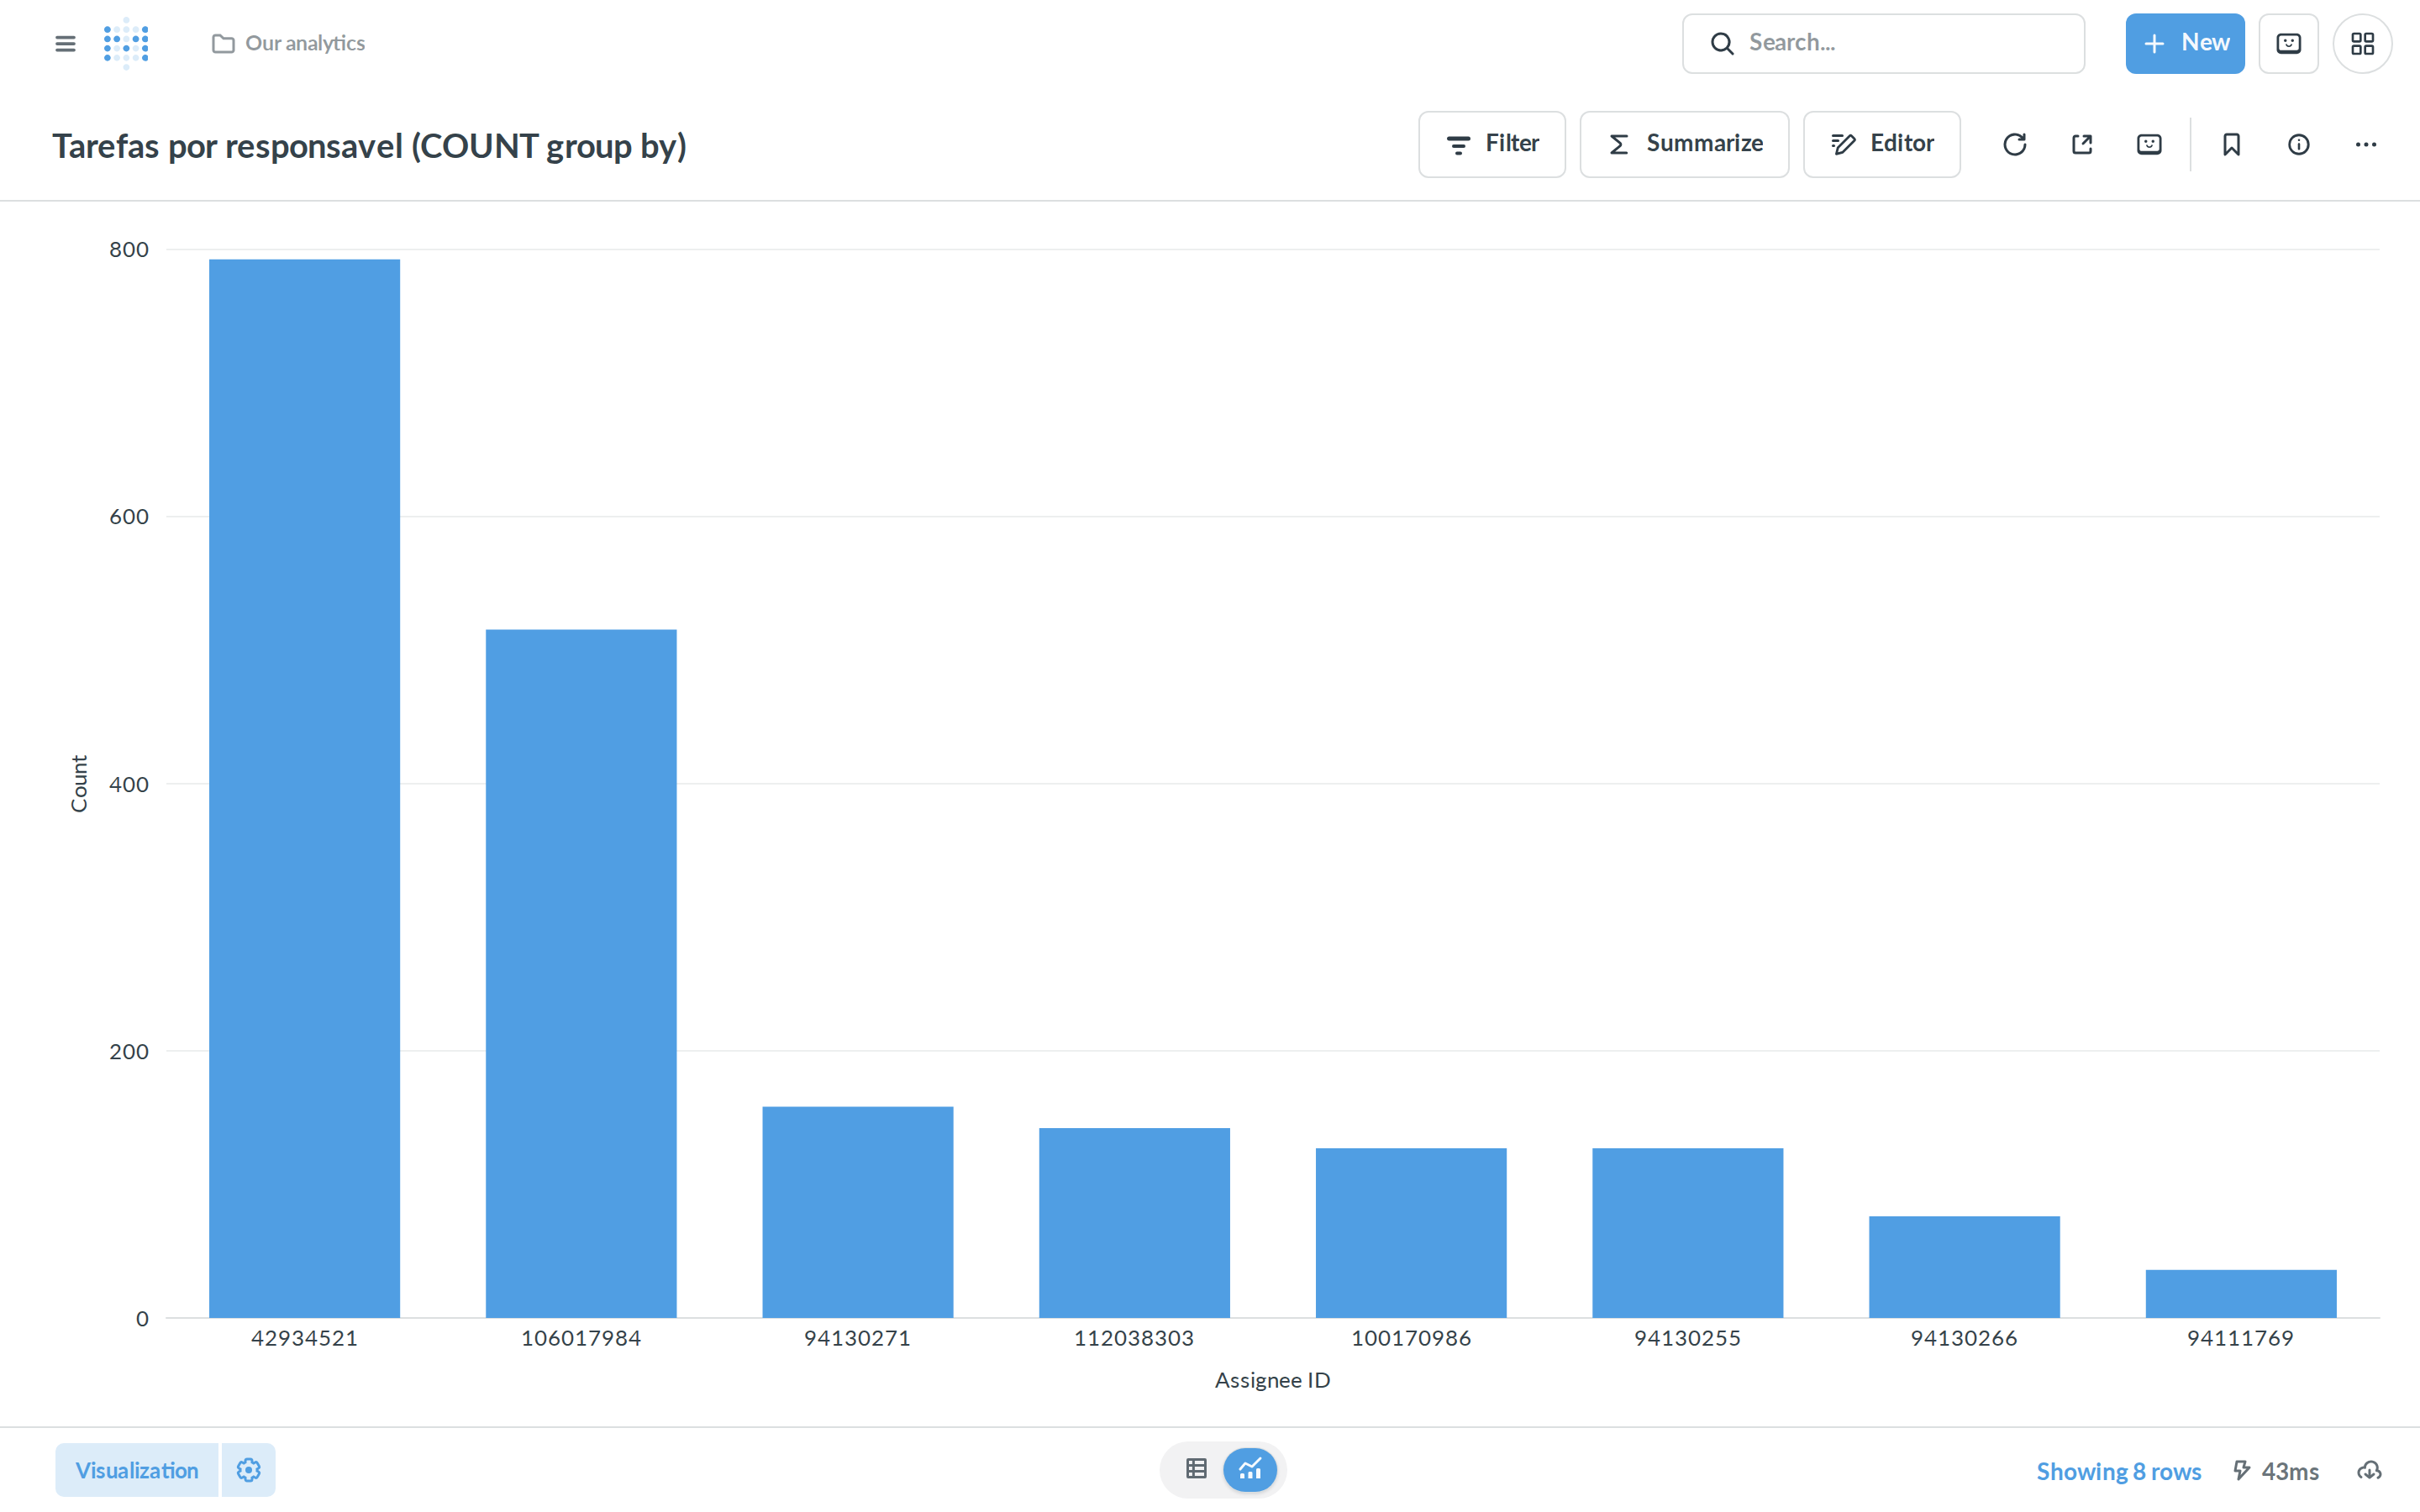
publicschema. Your Via Kondado saved queries also appear as tables and can be used normally. - You can use the native SQL editor, the Query Builder (no SQL), aggregations (SUM/COUNT/AVG), date bucketing (month/year), filters, JOINs across tables, TOP N, charts, dashboards with filters and even Metabase's automatic X-Ray dashboards.
How to connect Metabase to Via Kondado
Connect Metabase to your Via Kondado destination through the PostgreSQL endpoint kdb.kondado.io using the destination token as the password.
Open Add database
In Metabase, go to Admin settings > Databases > Add database and select the PostgreSQL type.
Fill in the connection
Host kdb.kondado.io, Port 5432, Database name kdb, Username any value (e.g. kondado) and Password equal to your Via Kondado destination token.
Enable SSL
Check the Use a secure connection (SSL) option. The SSL connection is required.
Save and sync
Click Save. Metabase tests the connection and syncs the schema, bringing in the destination tables.
Browse the data
Go to Browse data, pick the database you created and open any table to view and analyze the data.
Frequently asked questions
kdb.kondado.io on port 5432.kdb. The database name does not affect routing — the table catalog is determined by your token — but we recommend kdb by default.public schema and can be explored normally.