💡 Advanced tip: if you have columns with many empty values, IDs with leading zeros, or any field where Power Query is guessing the wrong type, use the schema-aware version: Correct Column Typing in Power BI/Excel with the Via Kondado Schema API.
Use your table's Link to create the Power BI Via Kondado connection
- Power BI steps
- Kondado steps
- Authentication for “Access web content”
- Scheduling Automatic Updates in Power BI Online
Power BI steps
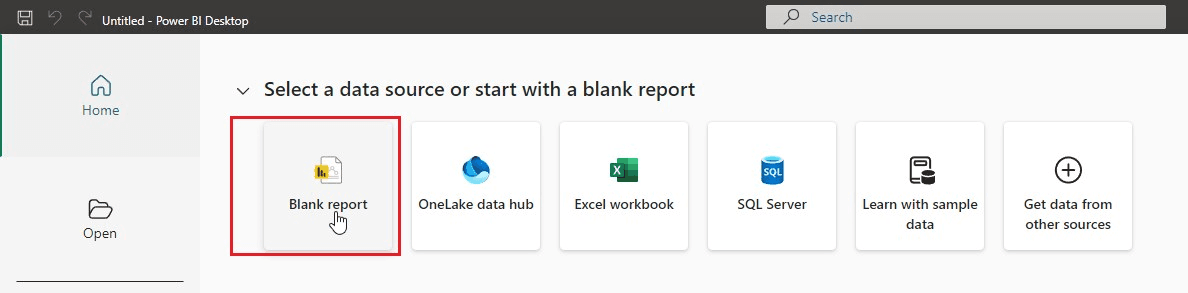
- Open Power BI and click on Blank Report:
- In the Home tab, click on Get Data:
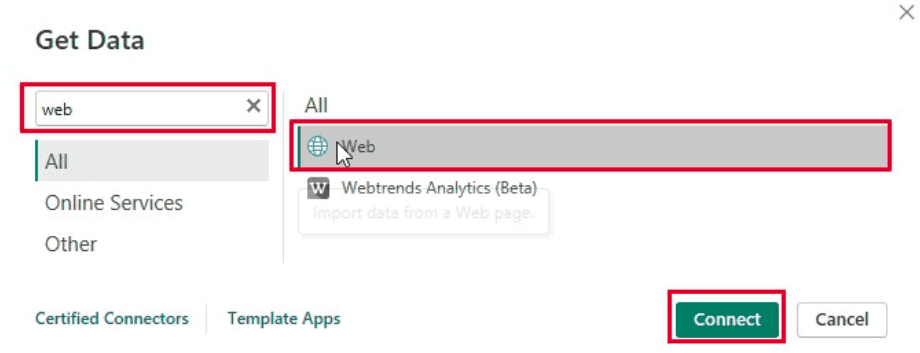
- In the data source selection, choose the Web option and click Connect:
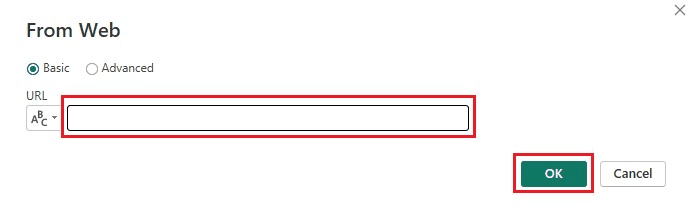
- Now you will need to enter the URL of your data and click OK (learn how to get the URL here):
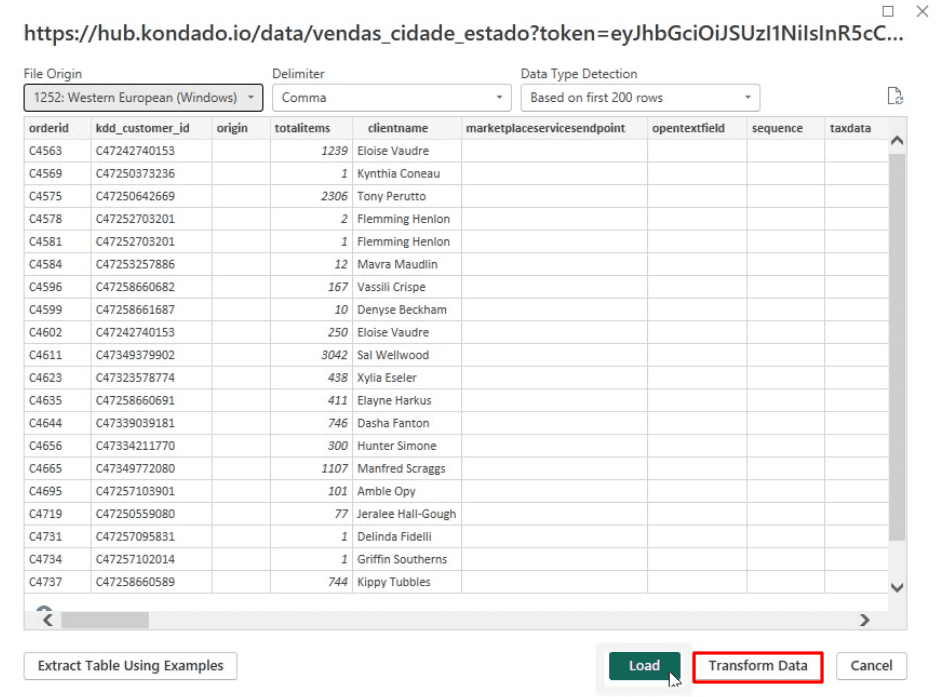
- After entering the URL, Power BI will display a portion of the table so you can ensure that the data types are correct. If it is, click on the Transform data option. Power BI will then load your data:
- Repeat those steps for each Kondado table you want to add to Power BI.

Kondado steps
- Don't know the URL Link of your data? Follow this mini tutorial to learn where to get it (you can also learn it here)
- After finishing our onboarding , you will have created your data destination, data source, and pipelines. So, head back to our platform and click on the PIPELINES menu:
- You will see a list of your pipelines. Select the pipeline you want to add to Power BI:
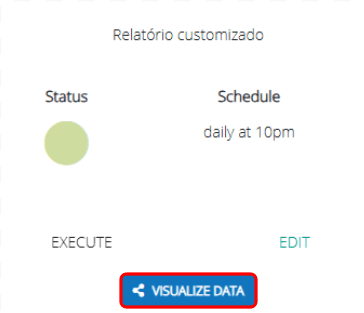
- Upon entering the pipeline, look for and click on the “Visualize Data” button, as shown in the image below;
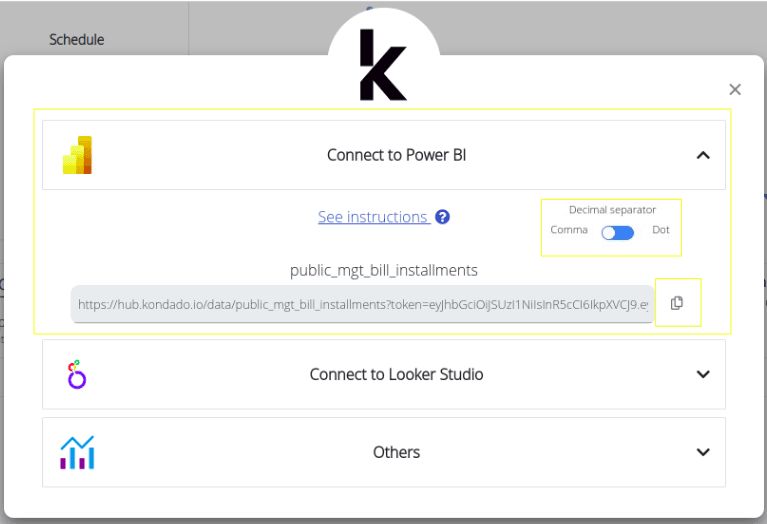
- In the next window, first, select the decimal separator option (comma or dot), then find which table you want to add to Power BI and click the button to copy the URL next to it:
- Now you can paste the Link on 4thstep of the tutorial.


Authentication for “Access web content”
The data authentication screen in Power BI appears on several occasions, depending on the type of data connection or service used. When creating a report in Power BI and/or editing our model, the window below may appear:
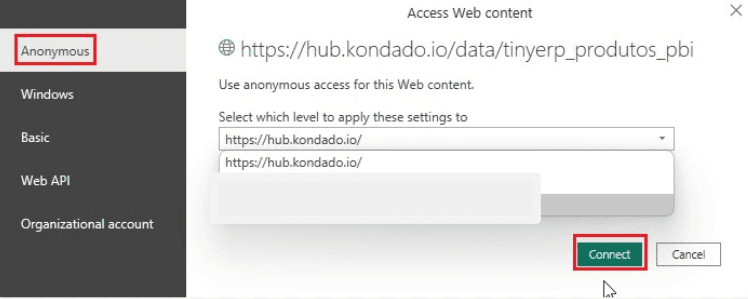
If this happens, simply select the "Anonymous" tab, then click on "Connect" .
Scheduling Automatic Updates in Power BI Online
After loading data into a Power BI template dashboard from Kondado and publishing it to Power BI Online, you may encounter an error when trying to schedule automatic data updates. One of the most common errors is:
- Data source error: "Information is needed in order to combine data. Please specify a privacy level for each data source. Information about a data source is required. The exception was raised by the IDbCommand interface. Table: (table name)."
- This error happens due to a mismatch in credentials between the “.pbix” file you used to publish your dashboard and the file available in Power BI Online.
- To avoid or resolve this error, follow these simple steps:
- Verify Database Credentials
- Before publishing your dashboard, ensure that the database credentials are correct by following these steps:
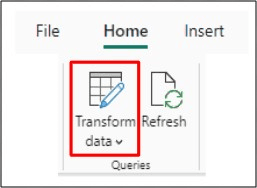
- In Power BI Desktop, go to the “Home” tab and click on Transform Data:
- Before publishing your dashboard, ensure that the database credentials are correct by following these steps:
- Configure Data Source
- Now, click on Data source settings in the "Home" menu:
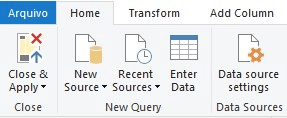
- Now, click on Data source settings in the "Home" menu:
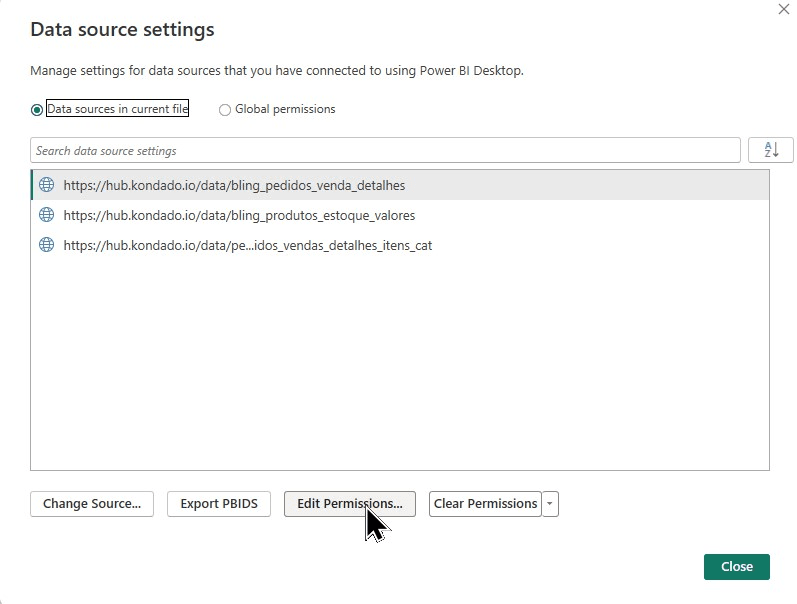
- In the window that appears, select each data source individually and click Edit Permissions:
- Set the "Privacy Level" to Public:
- Publish the Dashboard
- Return to your dashboard and click Publish to send your dashboard to Power BI Online:
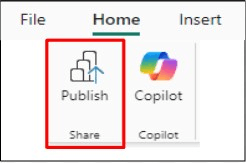
- Return to your dashboard and click Publish to send your dashboard to Power BI Online:
- Configure Credentials in Power BI Online
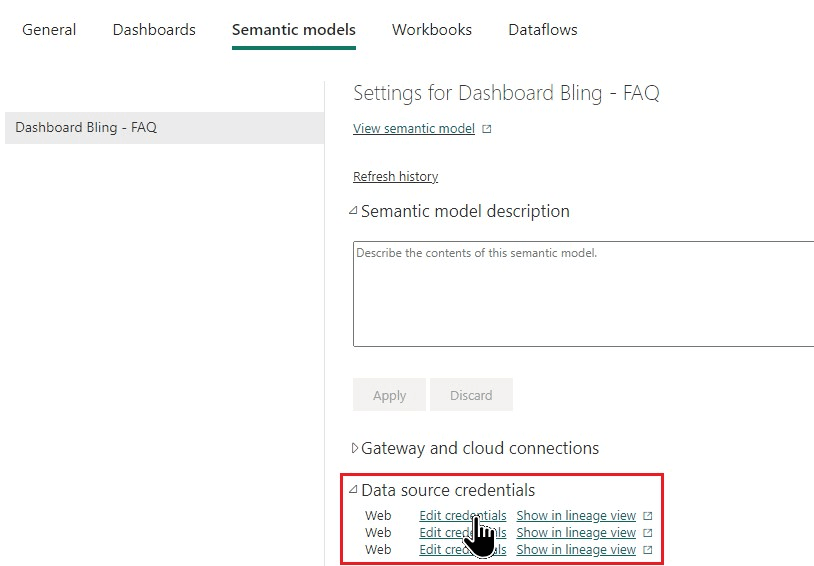
- In Power BI Online, go to the Scheduled Refresh settings for your dataset:
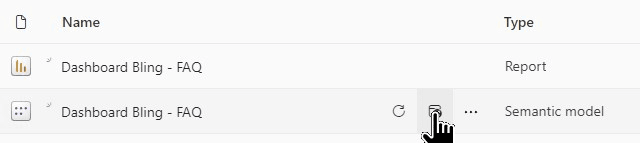
- In Power BI Online, go to the Scheduled Refresh settings for your dataset:
- On the page that appears, in the Data source credentials section, click Edit credentials for each data source:
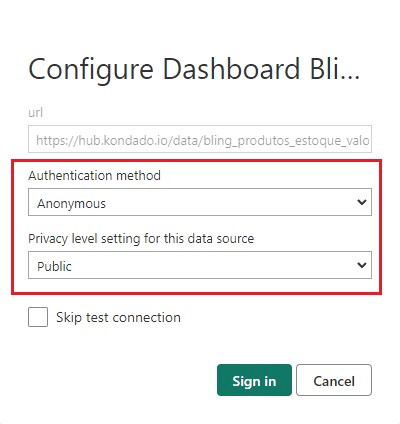
- Adjust Authentication Method
- In "Authentication Method," select Anonymous.
- In "Privacy level settings for this data source," choose Public and click Sign in:
- That's it! Now your credentials are properly configured, and you will be able to schedule automatic updates for your dataset without errors.

Create the Power BI Via Kondado Connection
Connect your Kondado pipeline data to Power BI using table URLs and configure automatic refresh settings.
Get your Kondado table URL
After completing onboarding and creating your data integration pipelines, go to the PIPELINES menu in Kondado. Select the pipeline you want to visualize, click "Visualize Data," choose your decimal separator, and copy the URL Link for your desired table.
Connect Power BI to the web data source
Open Power BI, create a Blank Report, then in the Home tab click Get Data. Choose the Web option and click Connect. Paste your Kondado table URL and click OK to preview the data.
Transform and load your data
After Power BI displays a preview of your table, verify the data types are correct. Click Transform Data to load the data into your model. Repeat these steps for each additional Kondado table you want to include.
Set anonymous authentication
If the "Access web content" authentication screen appears, select the "Anonymous" tab and click Connect. This allows Power BI to access your Kondado data without requiring additional credentials.
Configure privacy levels for scheduled refresh
Before publishing, go to Transform Data → Data source settings in Power BI Desktop. Edit permissions for each data source and set the Privacy Level to Public to prevent credential mismatch errors in Power BI Online.
Publish and set online credentials
Publish your dashboard to Power BI Online, then go to Scheduled Refresh settings. For each data source, edit credentials to set Authentication Method to Anonymous and Privacy Level to Public, then click Sign in to enable automatic updates.