
Before we dive into the tutorial, let's understand what SQL Server and Looker Studio are and why you might want to connect them.
SQL Server is a relational database management system developed by Microsoft. It is widely used by companies of all sizes to store and manage data efficiently and securely. With SQL Server, you can create robust databases, perform complex queries, and ensure the integrity of your data.
On the other hand, Looker Studio is a data analytics platform that allows companies to explore, visualize, and share insights from data stored in various sources, including SQL Server databases. Through Looker, you can create interactive dashboards, custom reports, and advanced analyses to make informed decisions based on your data.
Connecting SQL Server to Looker Studio offers a number of advantages for your company:
Unified Data Access: By connecting SQL Server to Looker, you centralize access to your data, making it easier for analytics and decision-making teams to find and use the necessary information.
Interactive Visualizations: Looker Studio allows you to create interactive and customized visualizations of your SQL Server data. This facilitates the understanding of data and accelerates insight generation.
Agility in Analysis: With the connection between SQL Server and Looker, you can perform analyses more quickly, without depending on developers for complex queries. This allows business teams to have more autonomy in data exploration.
Data-Driven Decision Making: By having easy access to SQL Server information through Looker, you can make more informed and strategic decisions, driving your company's success.
Centralizing Data in SQL Server with Kondado
3. Creating your first integration: Now that your data destination and data sources are registered, you can create your first integration by following the platform onboarding steps.
Now, let's go step by step to connect SQL Server to Looker Studio:
Access Look Studio and log in to your Looker Studio account and click on “Create”.

Next, select the “Data Source” option.

Select the Microsoft SQL Server connector.

Fill in the connection details, including the source name, SQL Server server address, port, database name, and your access credentials.

Select the desired table from the list and then click on “Authenticate”.

After the connection is successfully established, you will be able to start creating visualizations and reports from SQL Server data in Looker Studio.
Connect SQL Server to Looker Studio
Set up a Looker Studio data source pointing to a Microsoft SQL Server database, optionally centralizing other sources with Kondado first.
Centralize your data into SQL Server (optional)
Use Kondado to replicate data from your CRMs, ads, and e-commerce into SQL Server so Looker Studio reads from a single, unified database.
Open Looker Studio and create a data source
In Looker Studio, click Create > Data source and search for the Microsoft SQL Server connector.
Enter connection details
Fill in the source name, SQL Server address, port, database name, and access credentials. Make sure your SQL Server allows incoming connections from Looker Studio's IPs.
Pick a table and authenticate
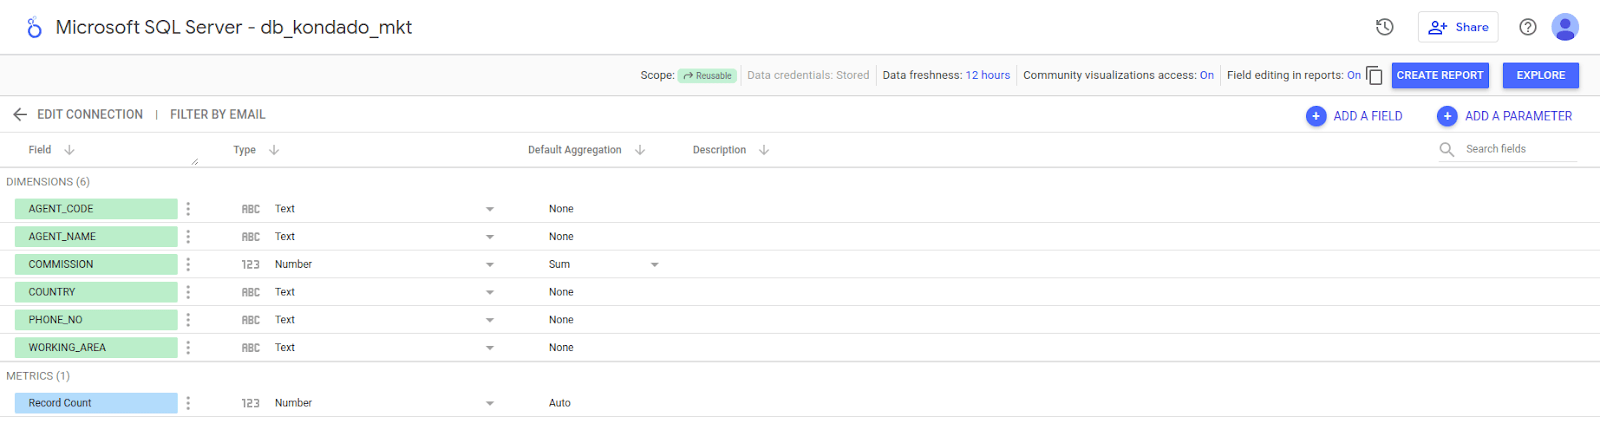
Select the table you want to use as a data source, then click Authenticate. Looker Studio will validate the credentials and show the table's fields.
Build the report
Click Create report, drag fields into charts and tables, and share the report with your team — no SQL knowledge required for the basic visualizations.