I created my Kondado account — now what?
As soon as you create your account, Kondado takes you straight to the Welcome page. This is where everything starts.
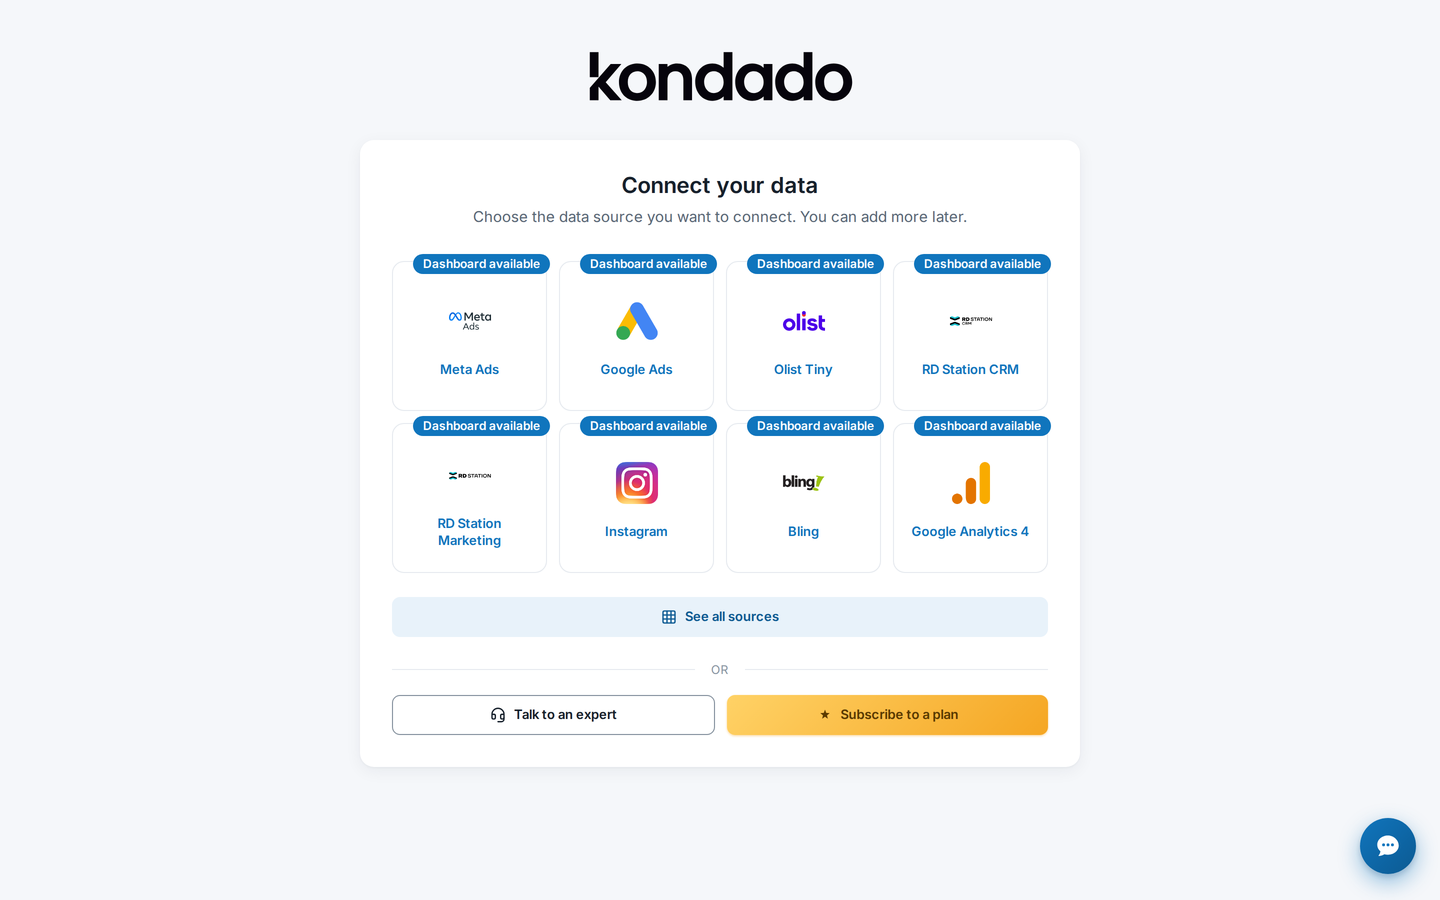
On this screen you'll see a grid of the most popular sources: Meta Ads, Google Ads, RD Station CRM, Shopify, Google Analytics 4, and more. If the source you need isn't highlighted, click "See all connectors" to explore all 80+ available options.
From here, the onboarding step-by-step guide will walk you through everything — just follow the on-screen instructions. Let's see how it works using RD Station CRM as an example.
Step 1: Choose and configure your source
Click the source you want — in our example, RD Station CRM. The onboarding will open a modal with instructions specific to that connector:
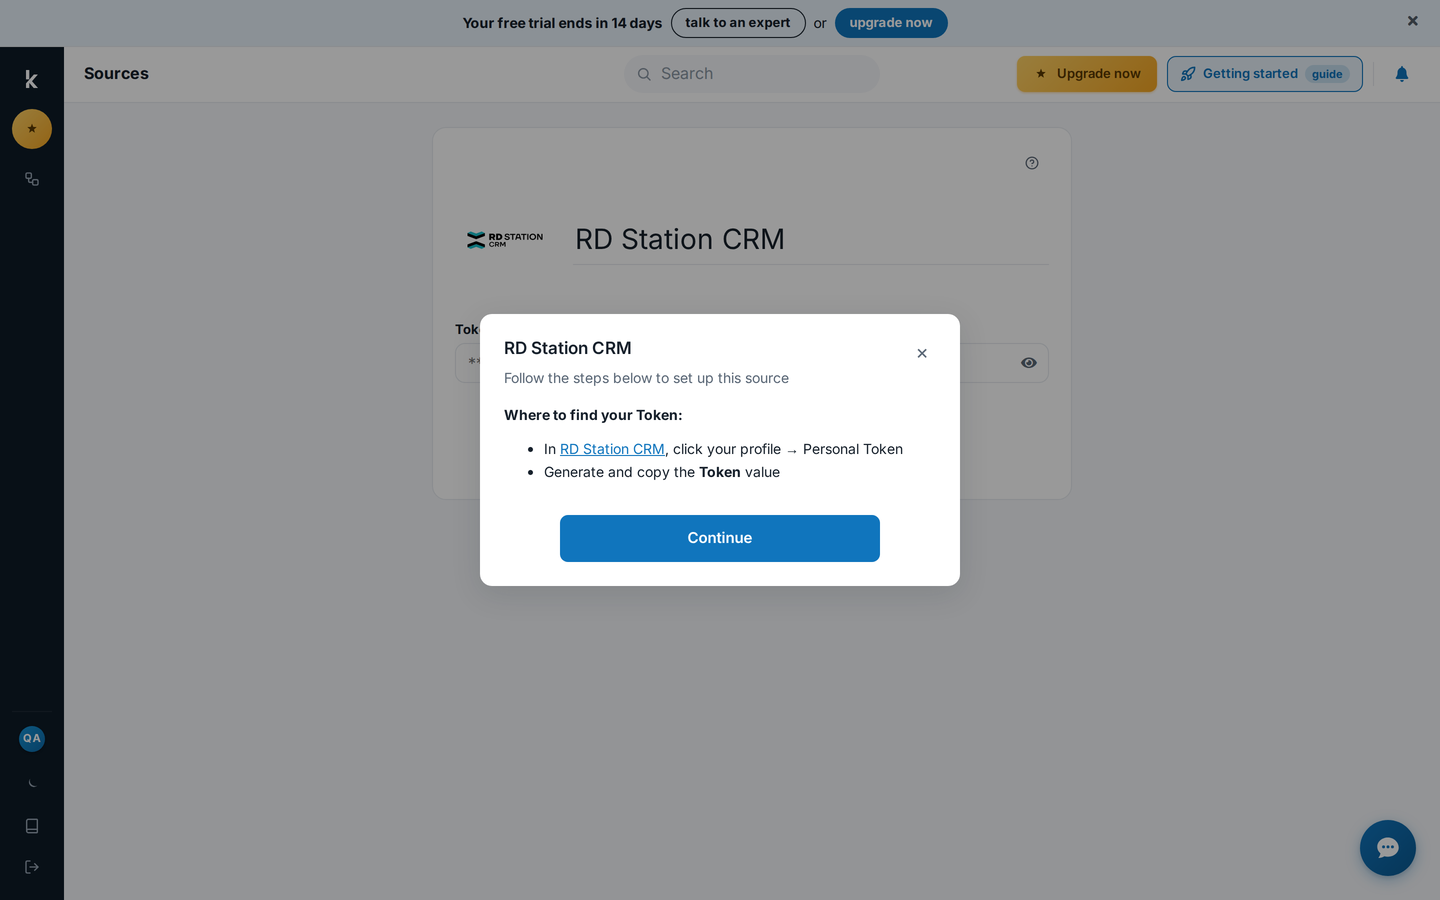
Each source has its own authentication method. For RD Station CRM, you need a Personal Token (generated in your RD Station CRM profile). The instructions show exactly where to find it.
After reading the instructions, click "Continue" and fill in the form with your credentials:
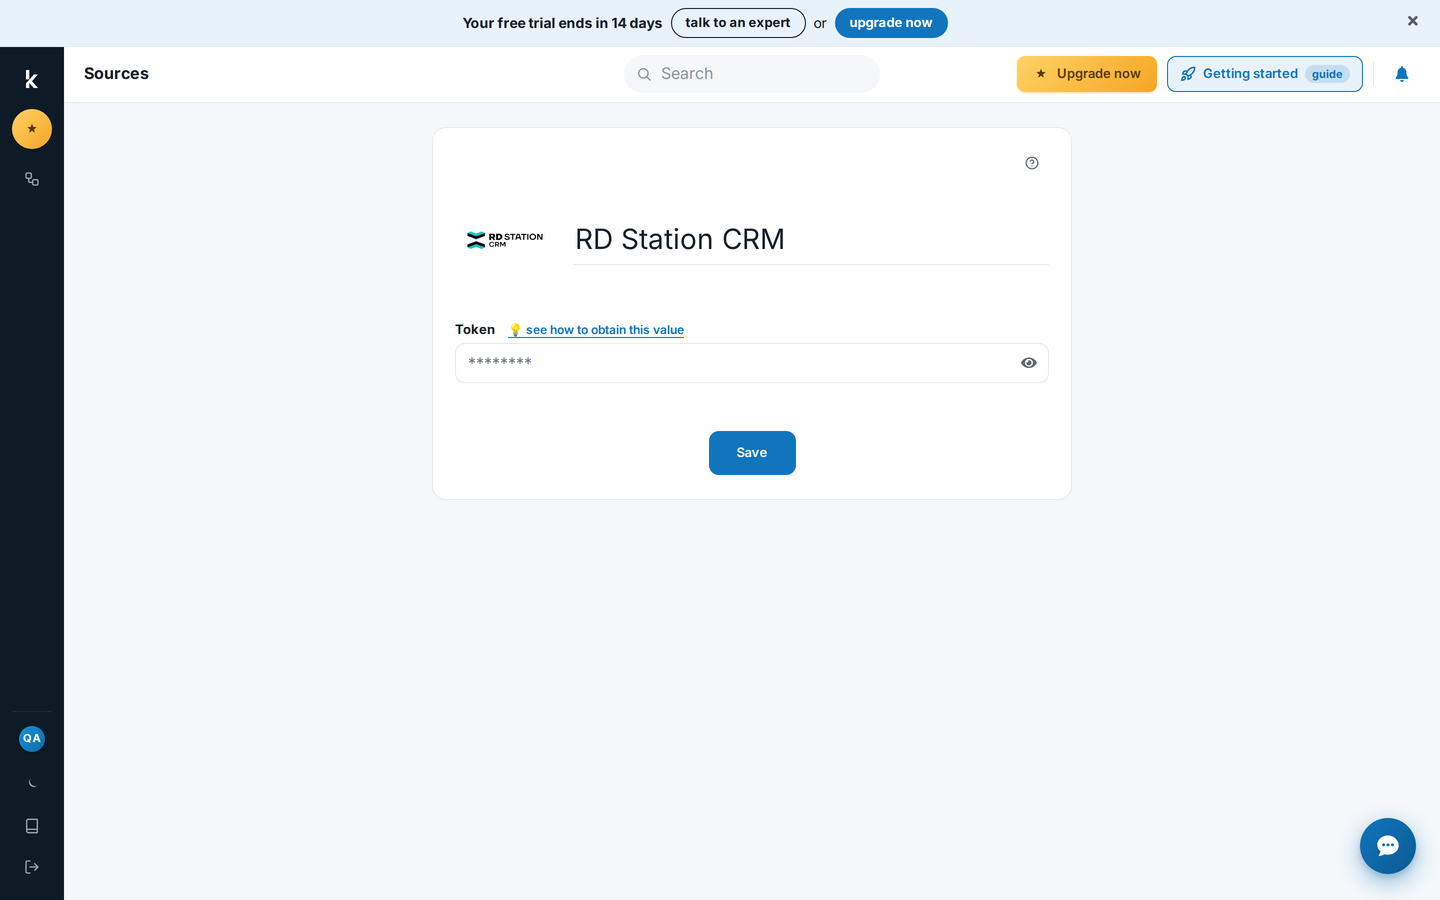
Step 2: Test the connection
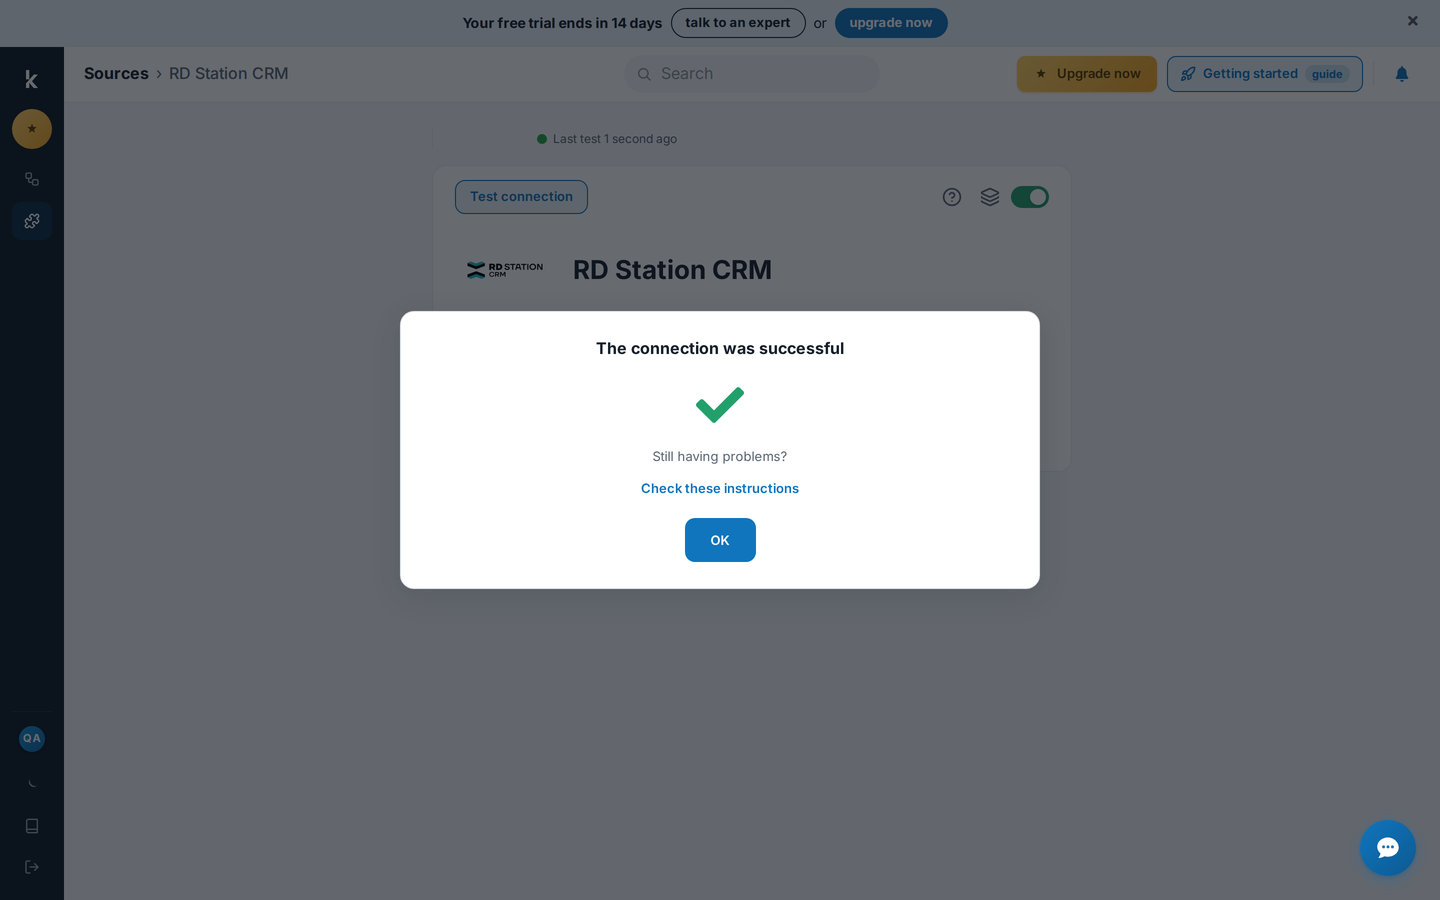
When you save the credentials, Kondado automatically tests the connection to the source system:
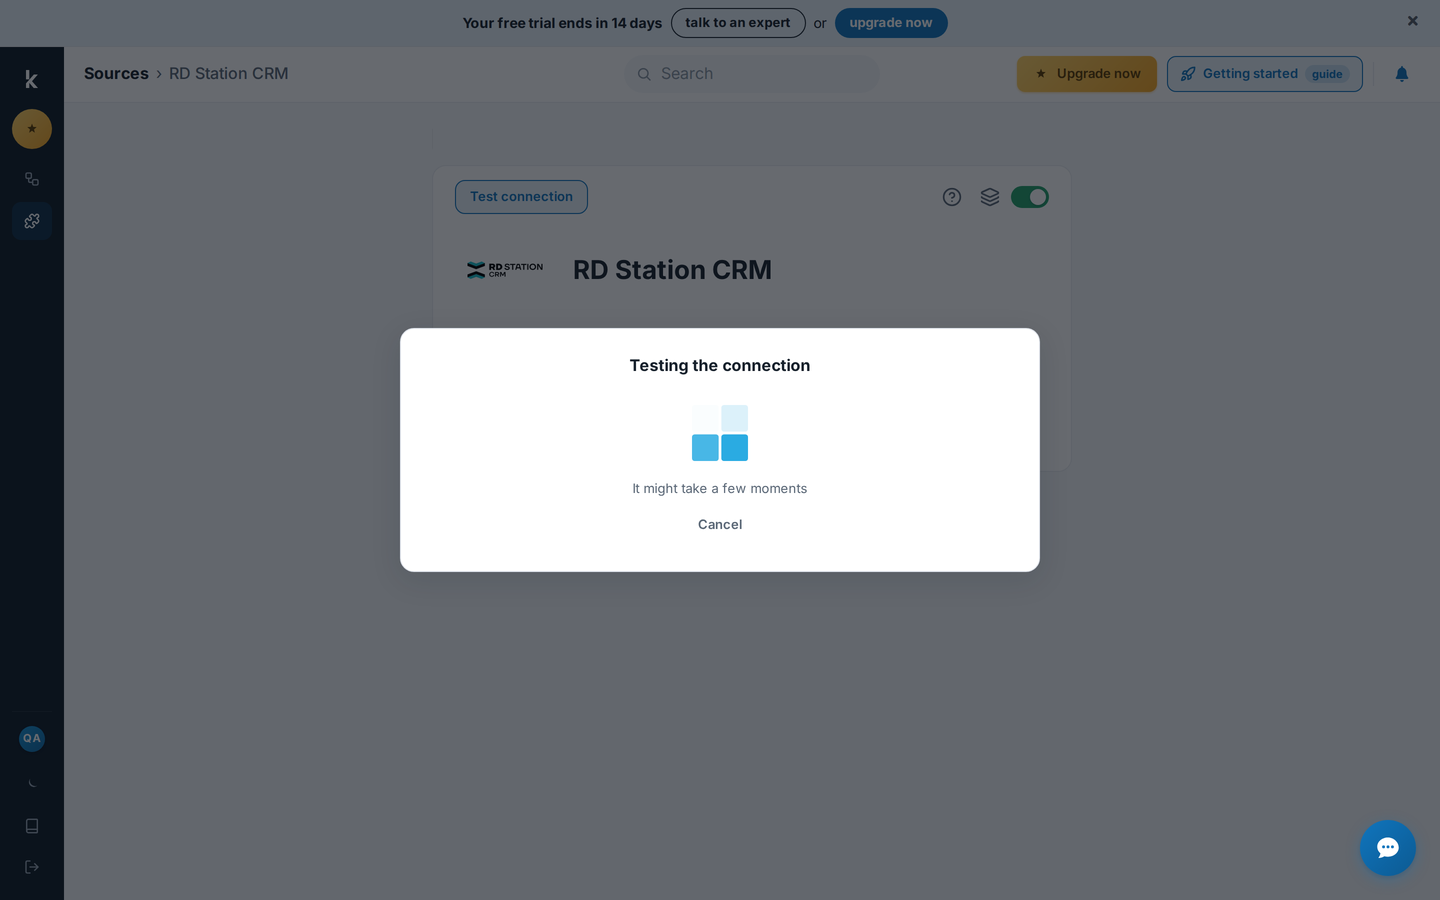
If the credentials are correct, you'll see the confirmation:
Step 3: Choose what to do with your data
With the source configured, Kondado asks what you want to do with your data — and offers ready-made dashboards as the recommended path:
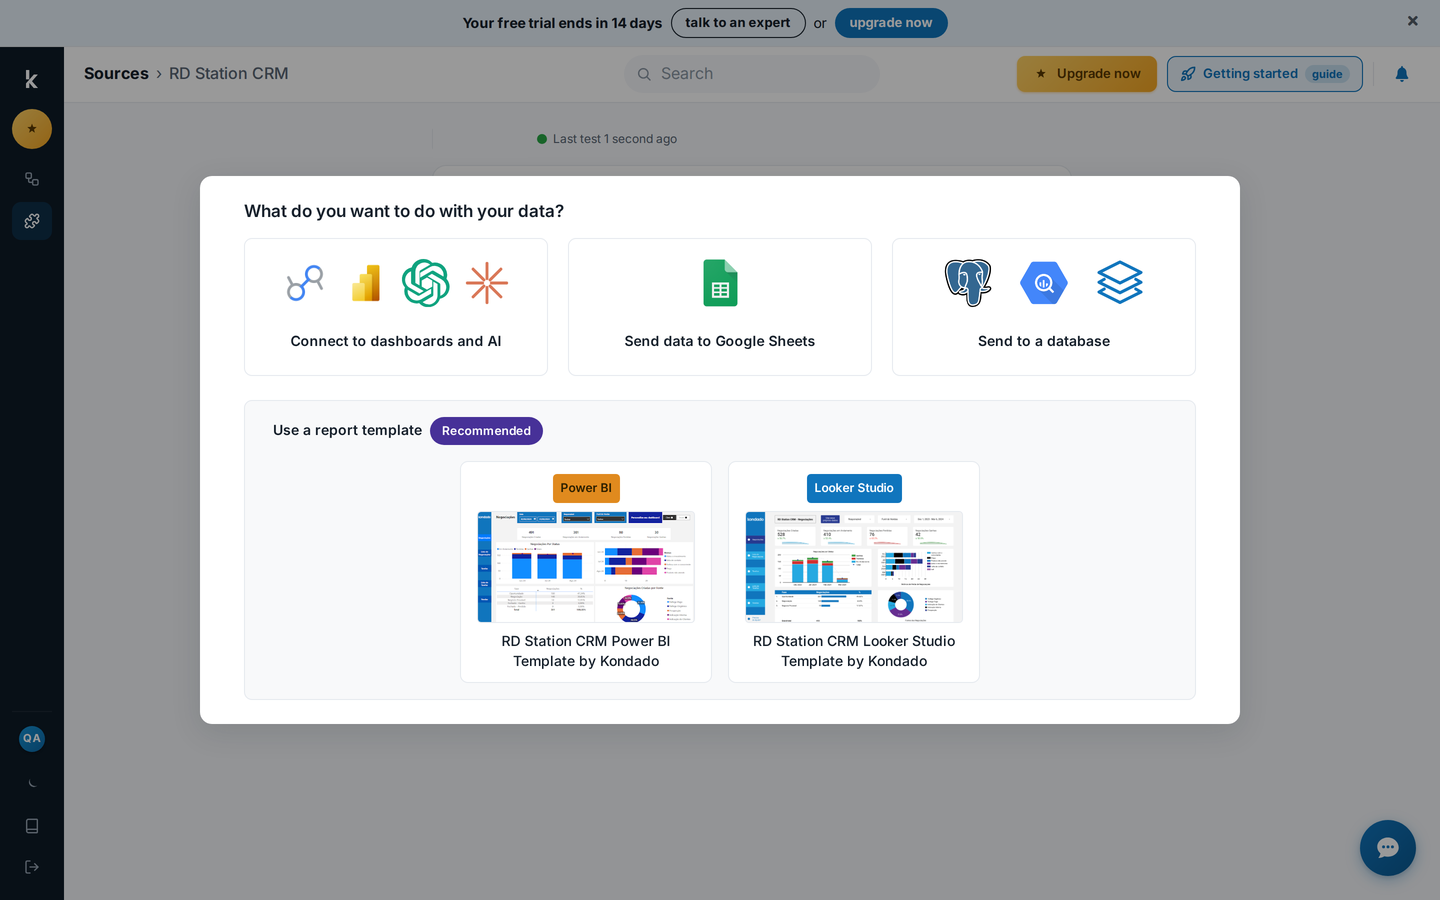
You have 3 destination options:
| Destination | Best for |
|---|---|
| Power BI, Looker Studio or a similar tool | Dashboards and visual reports |
| Google Sheets | Quick spreadsheet analysis |
| Data Warehouse or Data Lake | Large volumes, advanced analytics (BigQuery, PostgreSQL, etc.) |
Kondado also offers ready-made report templates — pre-configured dashboards for Power BI or Looker Studio. In the example, the "RD Station CRM Power BI Template" already includes the key RD Station CRM metrics.
Step 4: Wait for automatic setup
When you pick a ready-made dashboard, Kondado assembles the recommended setup for that source — a list of pipelines and queries — and asks you to confirm:
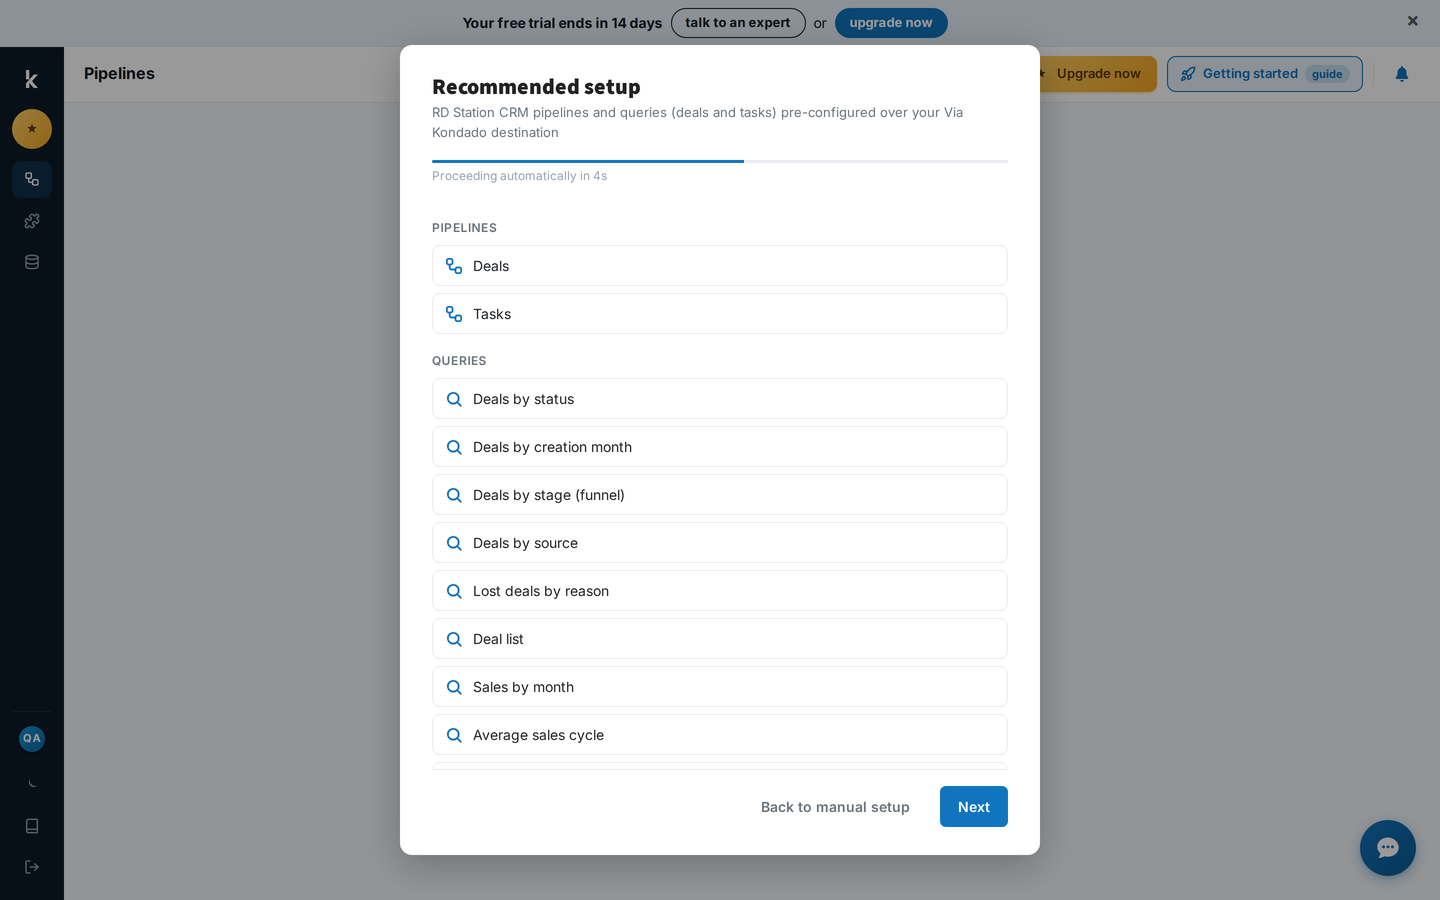
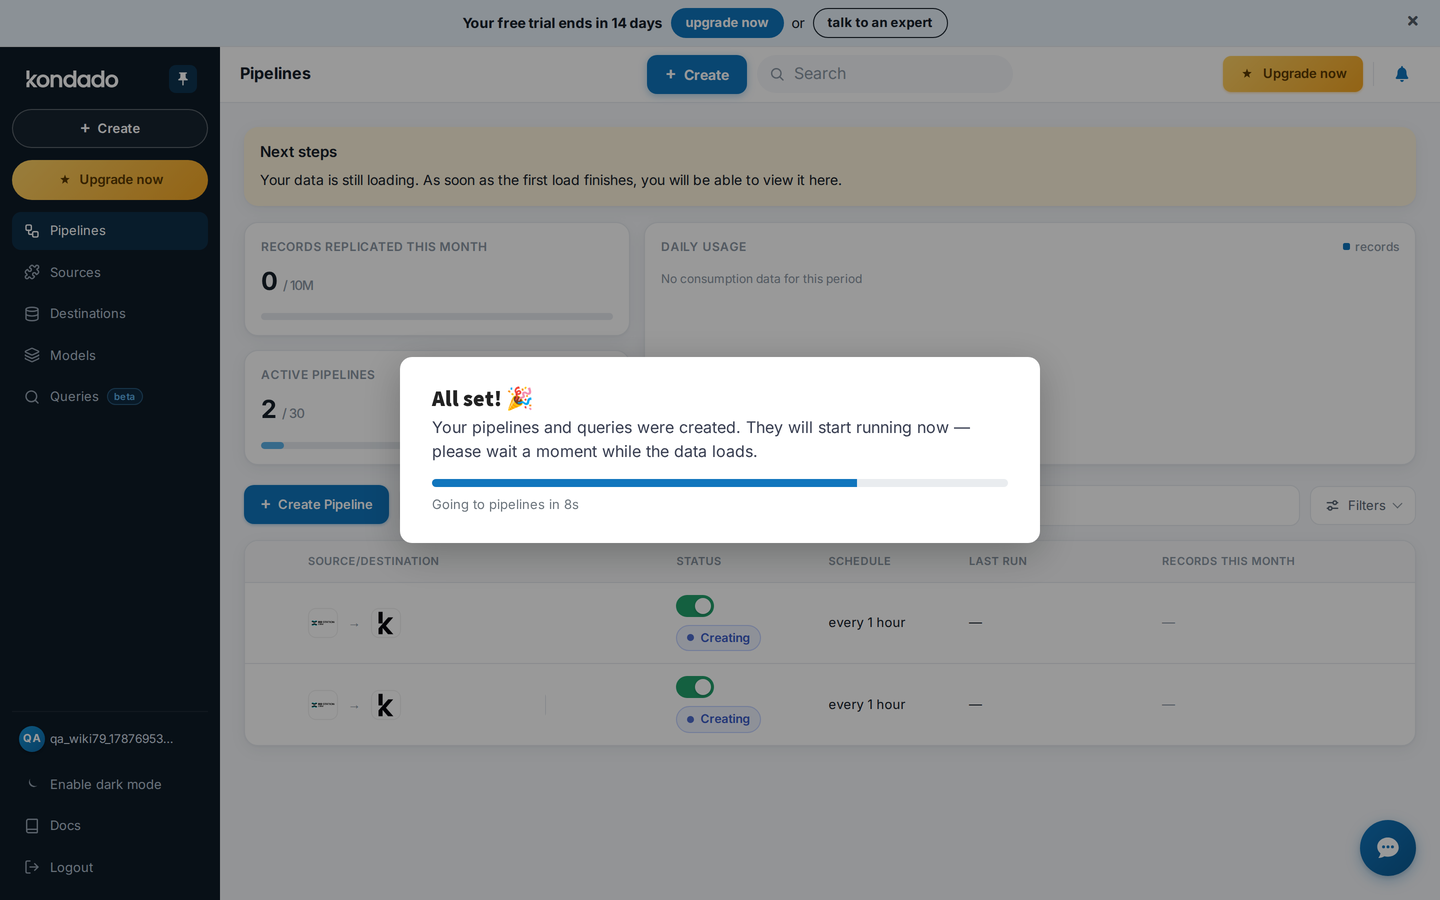
Once you confirm, the system creates every pipeline and query on the list, showing the progress:
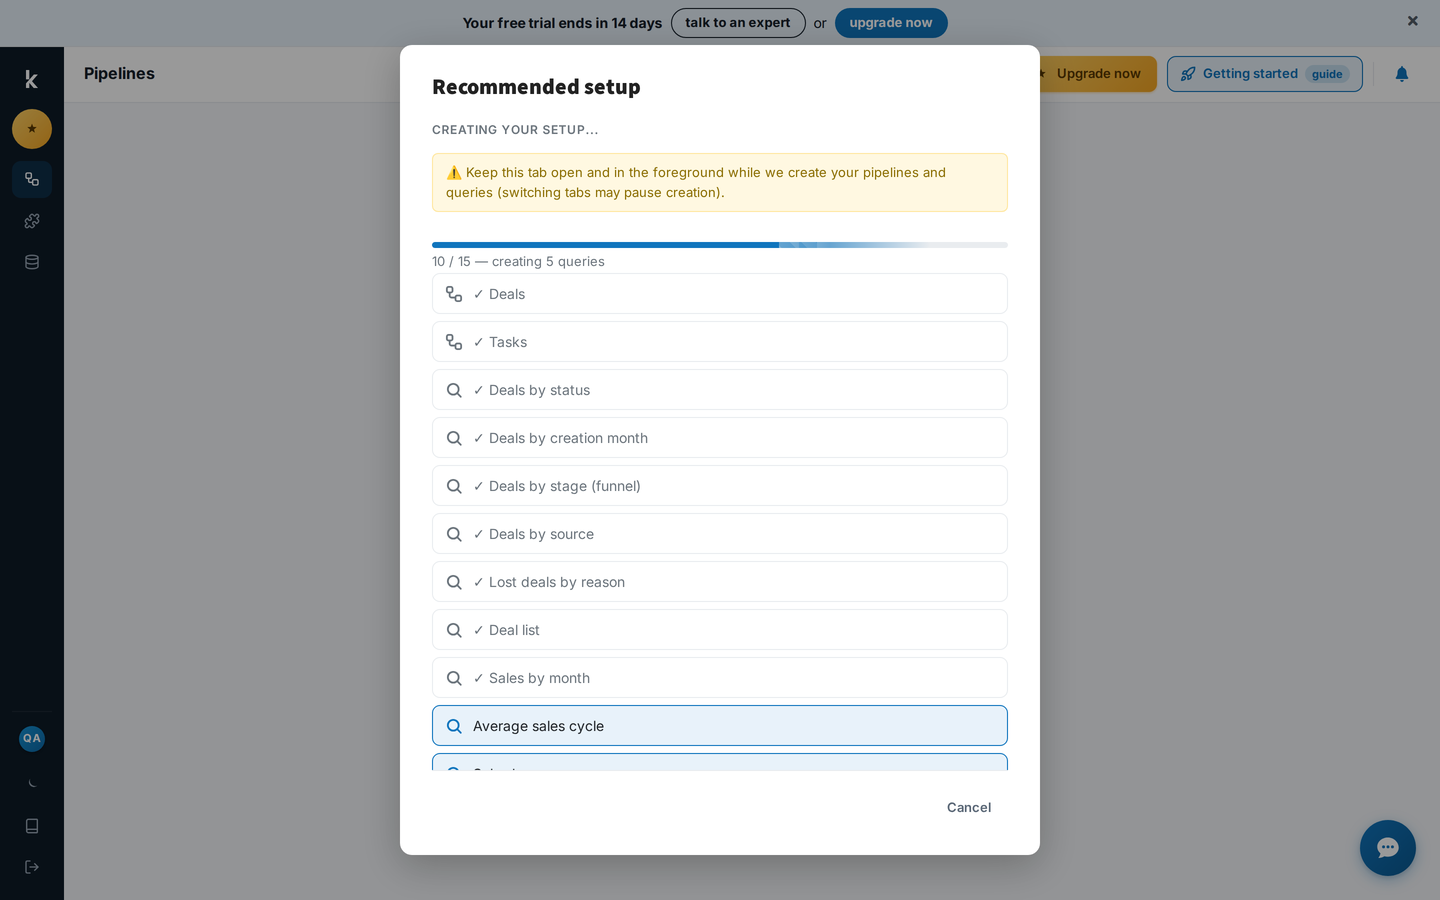
When it's done, you'll see the confirmation:
How do I know it worked?
Go to the Pipelines screen and check the status of each one:
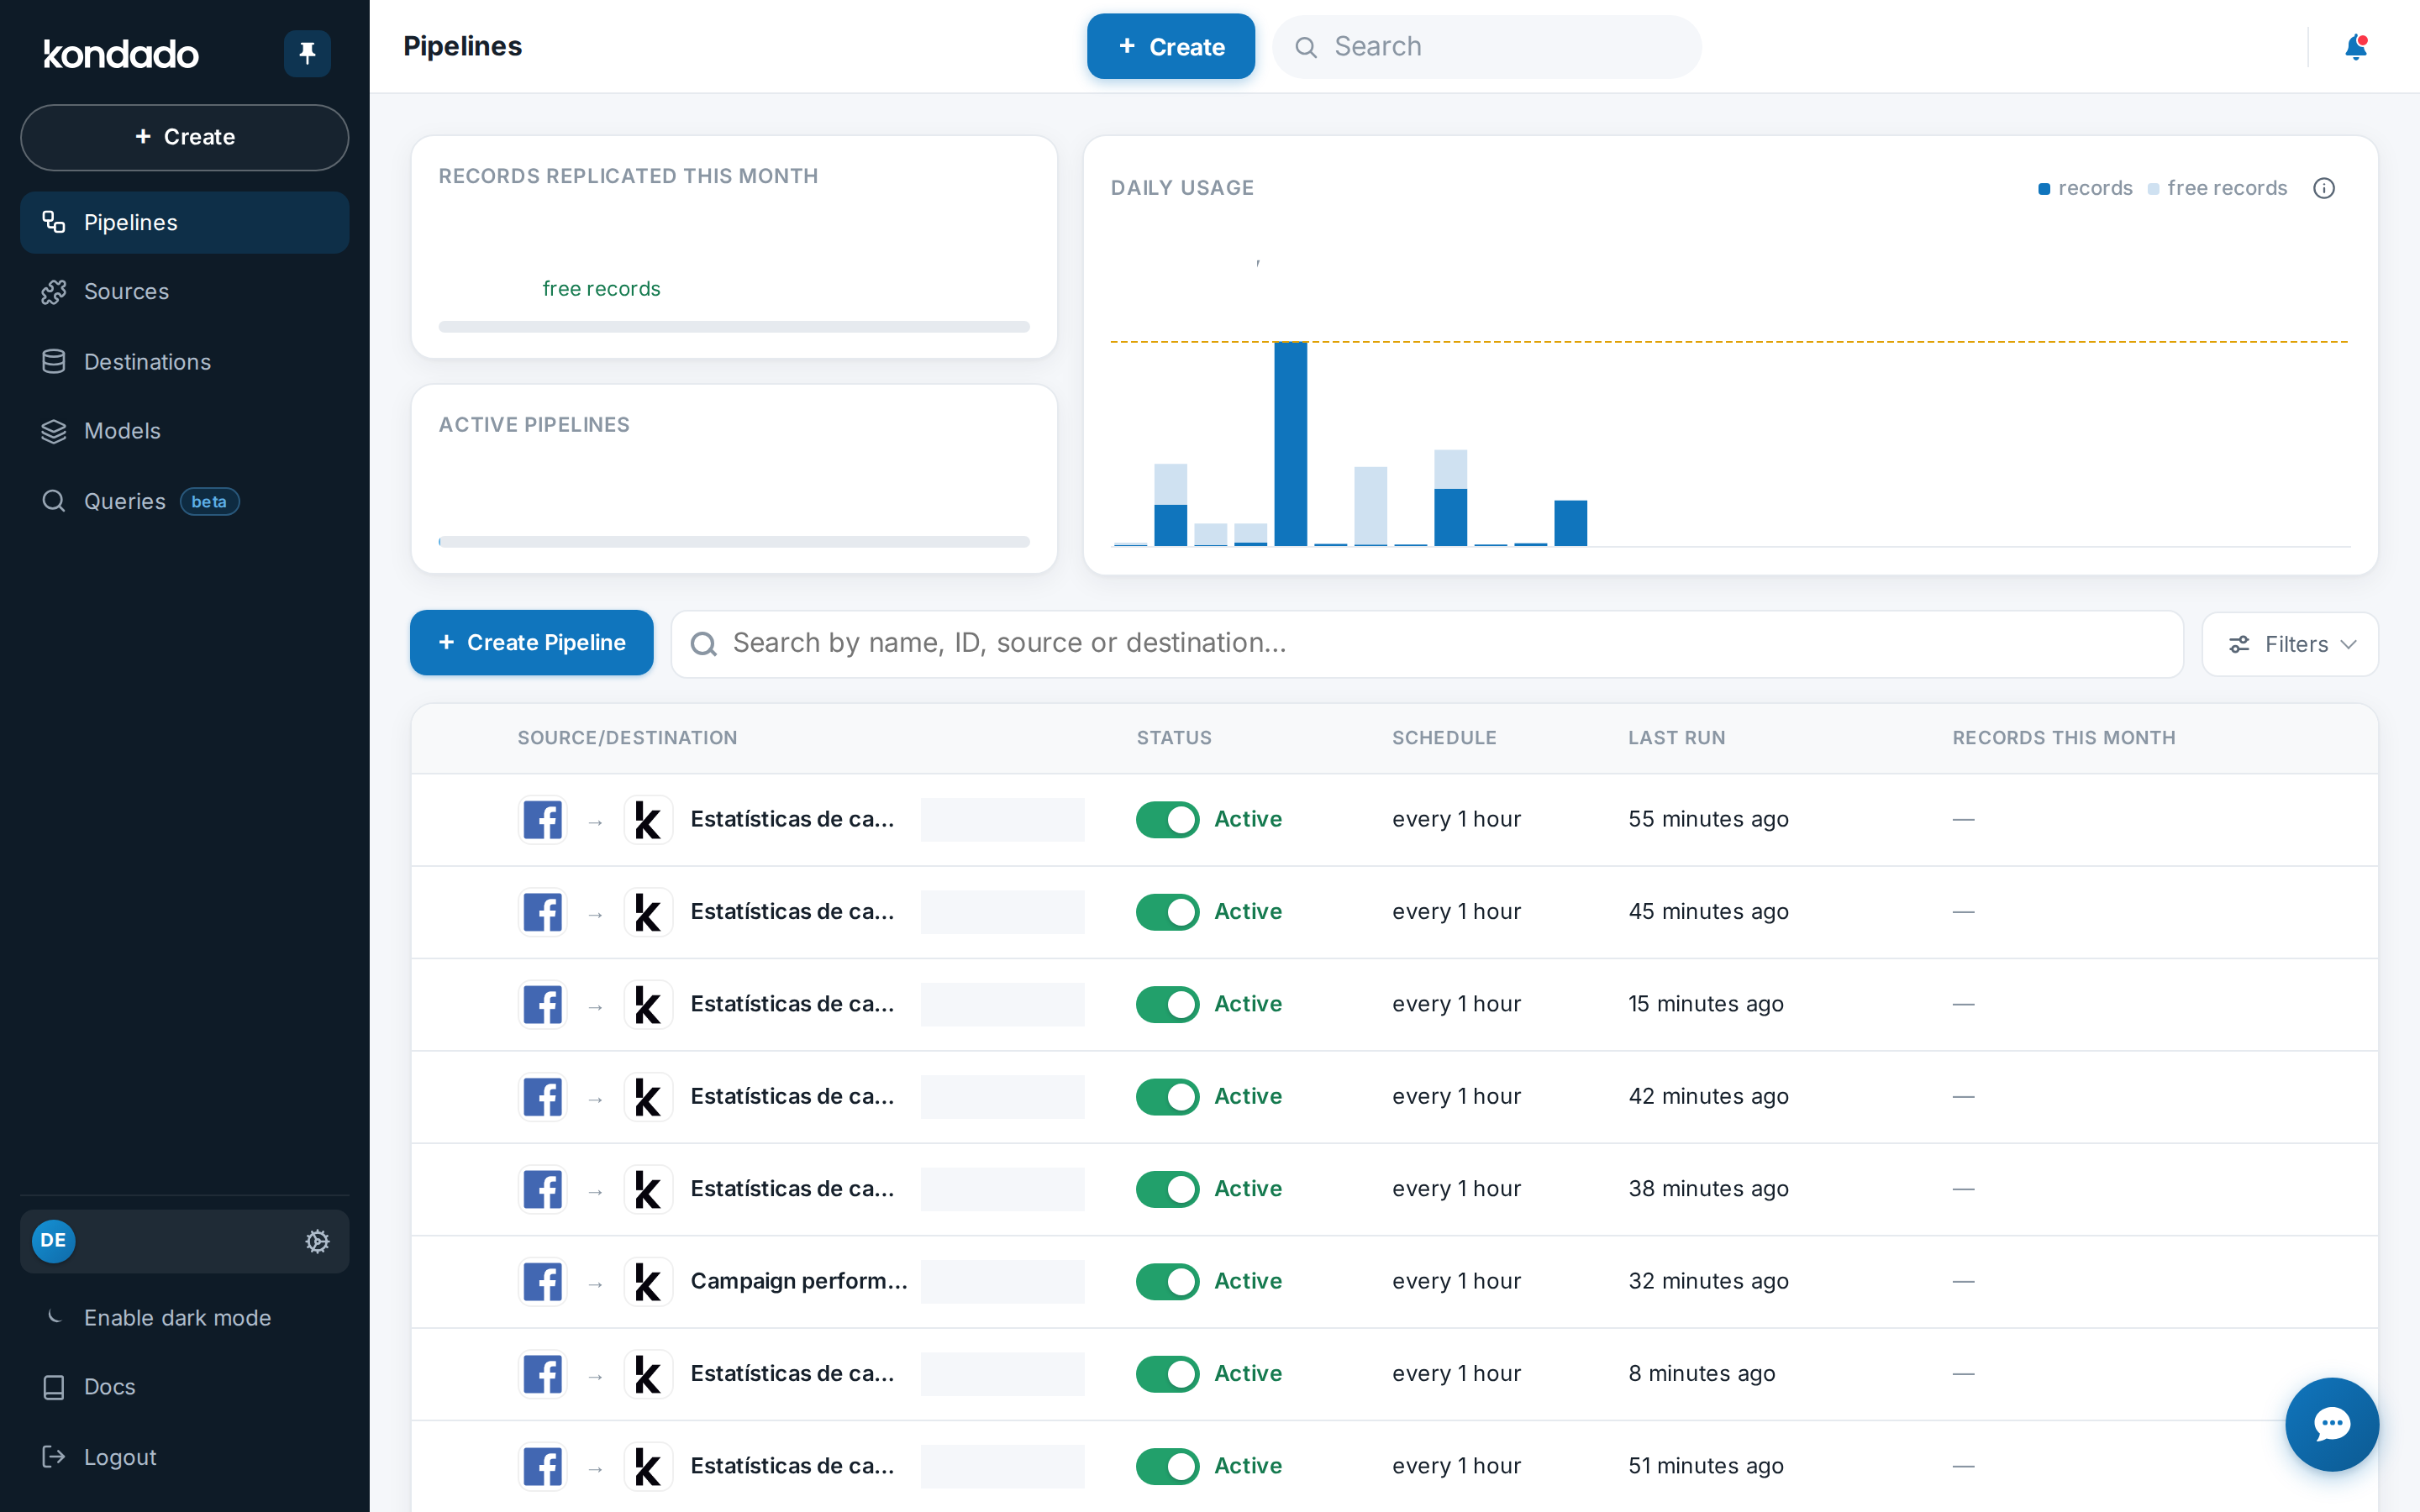
- ● Green = Completed — the pipeline ran and data reached the destination.
- ▬▬▬ Running — the first load is in progress. You'll see a blue progress bar. Wait for the confirmation email.
Next Steps
Now that your first pipelines are running, you can:
- Connect more sources — repeat the onboarding flow for other sources (Google Ads, Shopify, HubSpot, etc.).
- Explore the dashboard — when the email arrives, open the Power BI or Looker Studio link with all metrics ready to go.
- Create custom pipelines — after your first pipeline, the "+ Create" button is in the side menu. Use it to create pipelines with manual settings (name, frequency, specific entities).
- Invite your team — in Settings → Users — click the block with your email at the bottom of the side menu —, add colleagues to your account.
Create your first pipeline on Kondado
Follow Kondado's real onboarding flow: pick a source on the Welcome page, configure credentials, test the connection, choose a destination and template, and wait for automatic pipeline creation.
Pick a source on the Welcome page
On the Welcome page, click the source you want (e.g. RD Station CRM) from the featured sources grid.
Configure credentials
Follow the modal instructions — each source has its own authentication method. Fill in Token, API Key, or OAuth login.
Test the connection
Kondado tests automatically. If it fails, double-check credentials and try again.
Choose destination and template
Pick from 3 destination options and optionally a ready-made report template for Power BI or Looker Studio.
Wait for automatic setup
The system creates destination, pipelines, and dashboard. You'll get an email when everything is ready.