Before we dive into the tutorial, let's understand what Amazon Redshift and Looker Studio are, and why you might want to connect them.
Advantages of Connecting Amazon Redshift to Looker Studio:
1. Access to Real-Time Data: The integration allows you to access data from Amazon Redshift in real-time, which is essential for making decisions based on up-to-date information.
2. Advanced Analytics: Looker Studio offers advanced analytics and visualization features that can help unlock valuable insights in your Amazon Redshift data.
3. Data Centralization: By connecting these two tools, you centralize your data, making it easier to access and collaborate across teams.
4. Customization: Looker Studio allows you to create custom dashboards and reports according to your specific needs, leveraging data from Amazon Redshift.
Centralizing Data in Redshift with Kondado
3. Creating your first integration: Now that your data destination and data sources are registered, you can create your first integration by following the platform onboarding steps.
Note
Connecting Amazon Redshift to Looker Studio
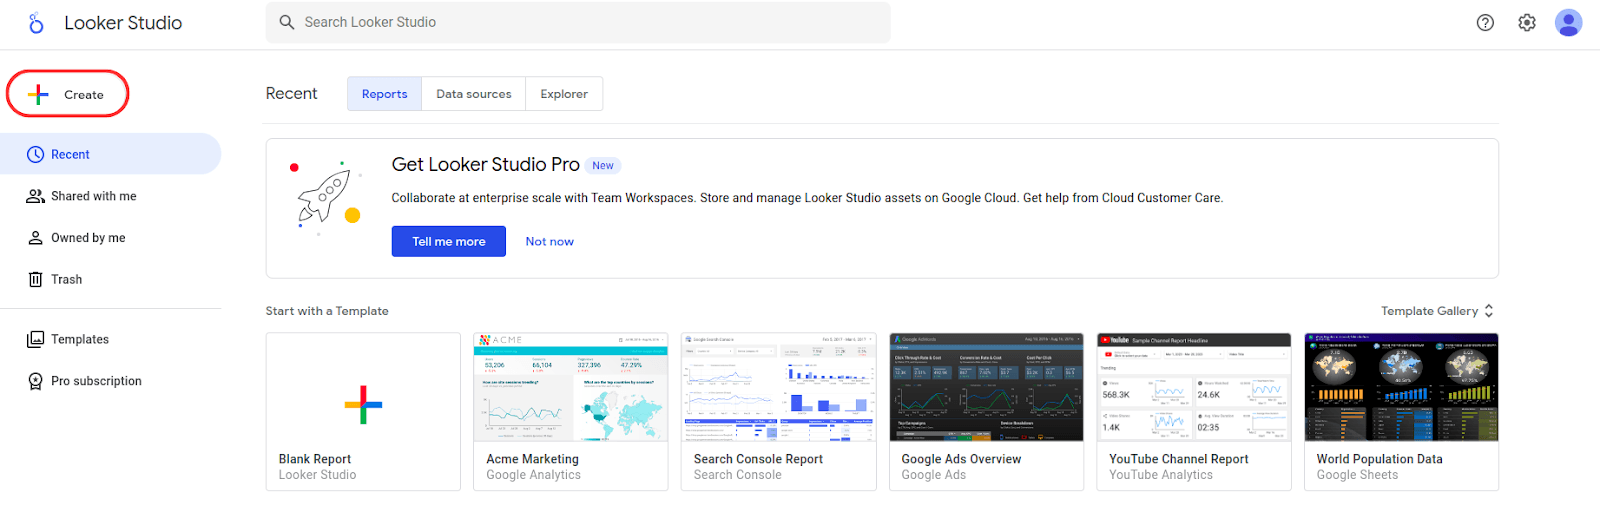
Go to Looker Studio and log in to your Looker Studio account and click on "Create".
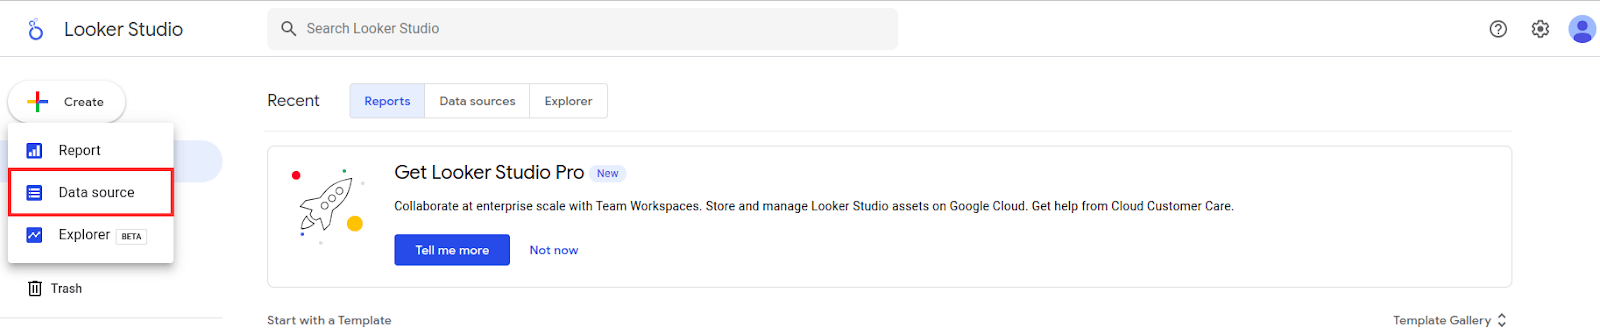
Next, select the "Data Source" option.
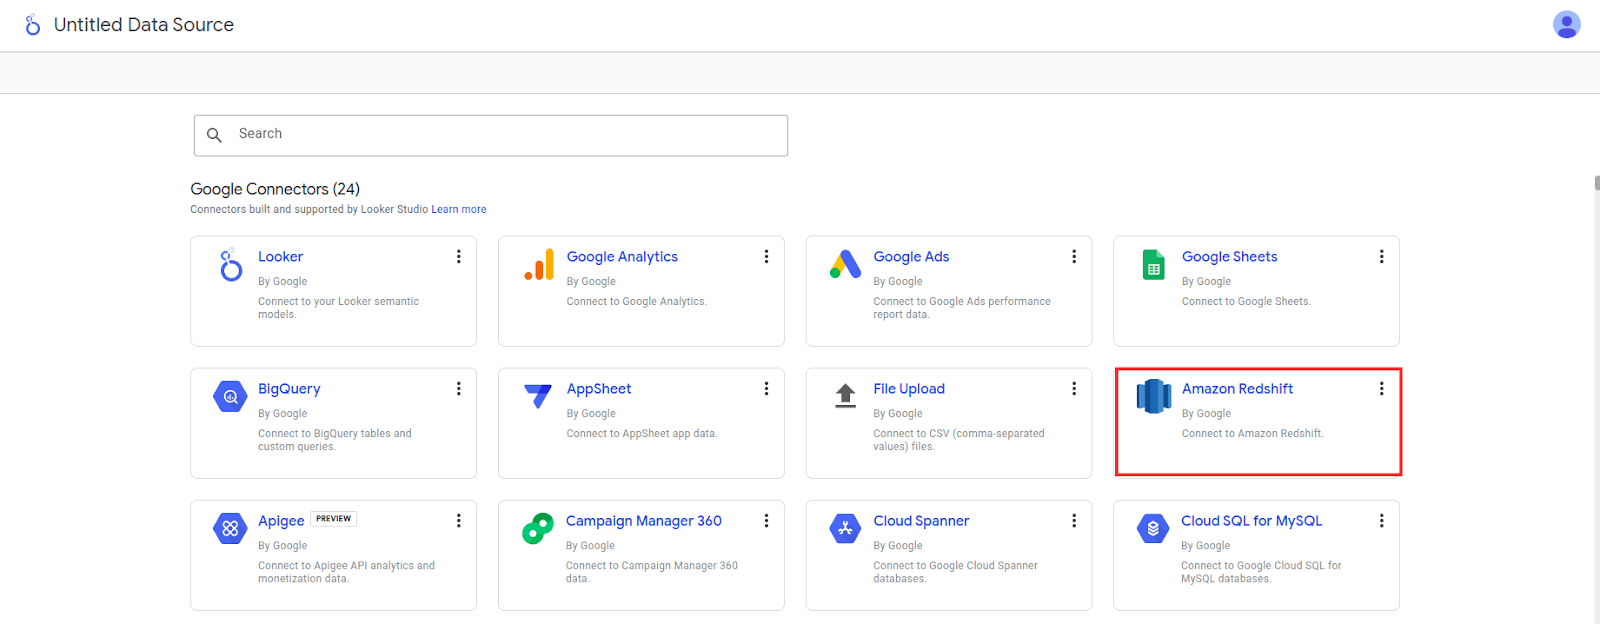
Choose the Amazon Redshift connector.
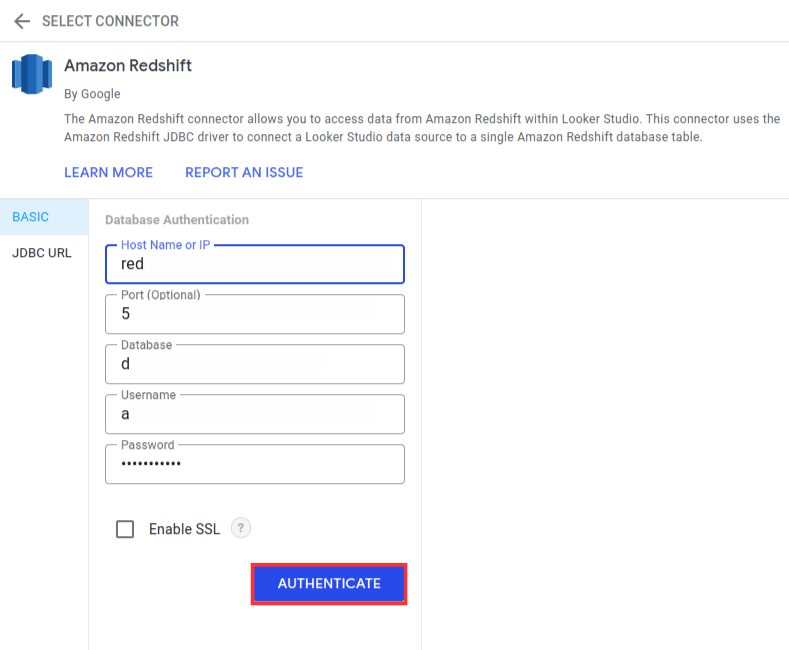
Enter the connection configuration information. Then, click on "Authenticate".
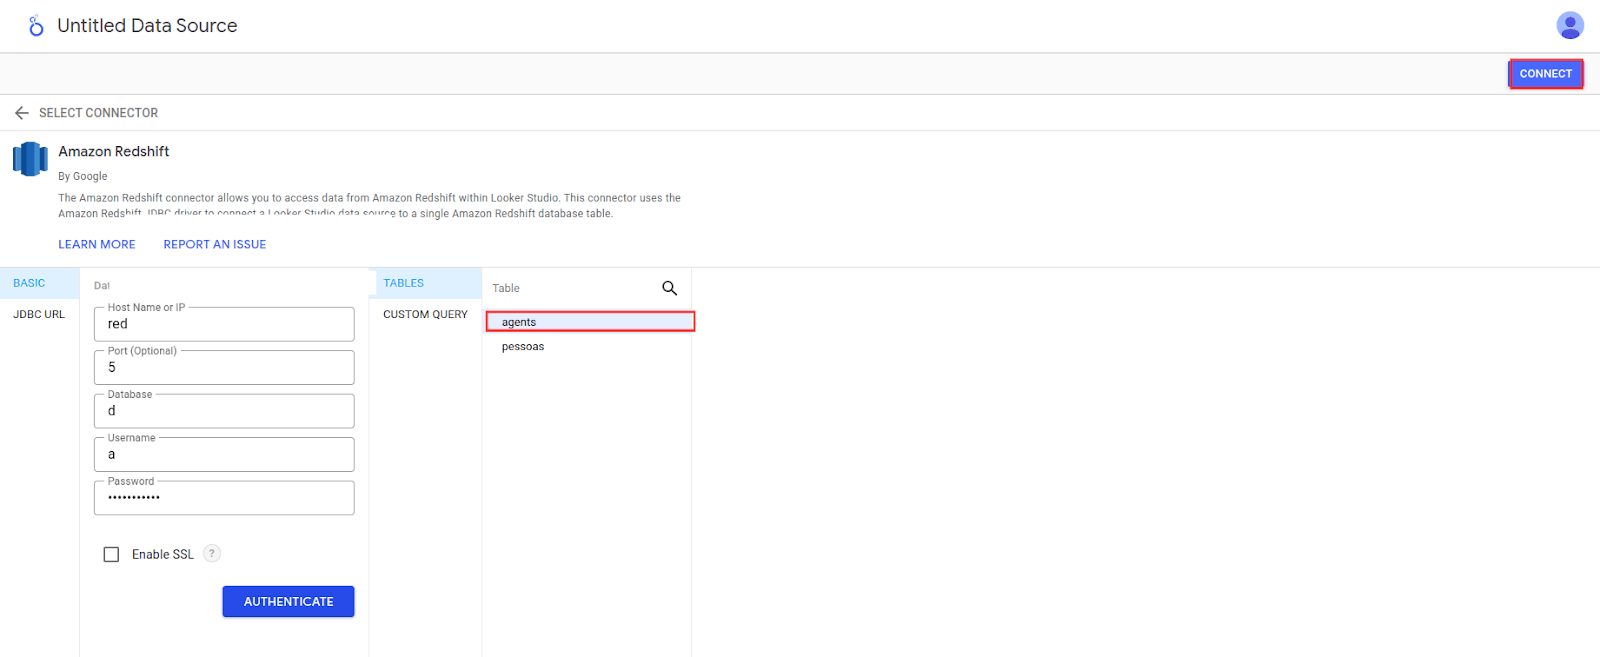
Select the desired table from the list and then click on "Connect".
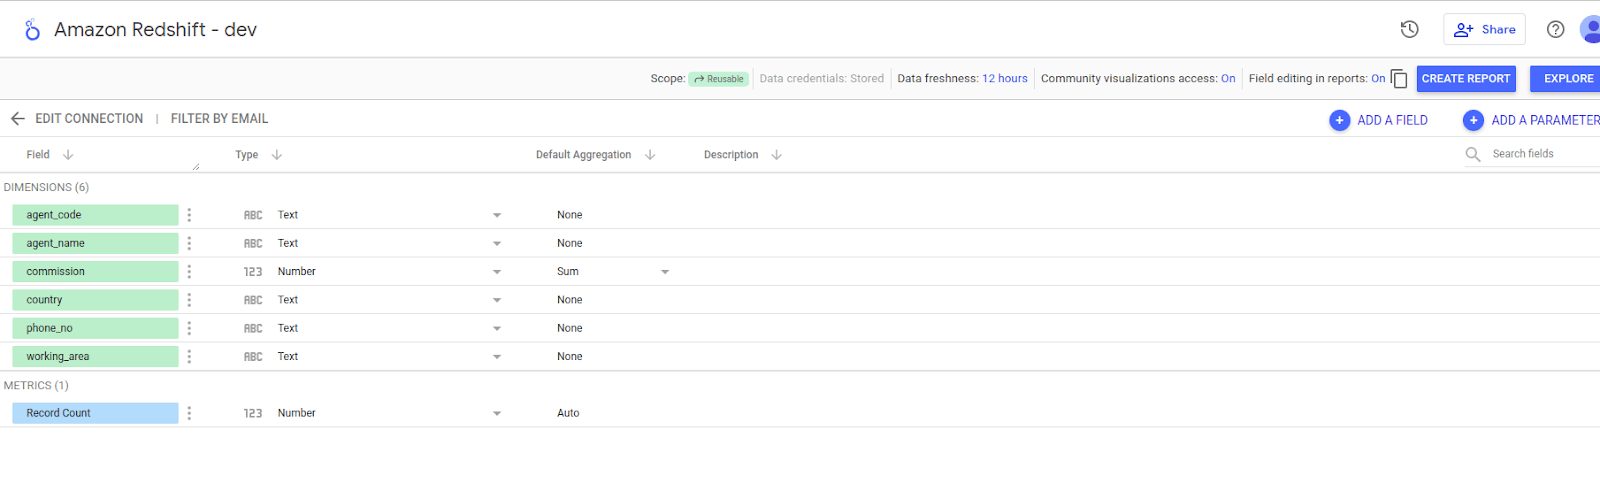
Done! Your Redshift database is now linked to Looker Studio, offering access to real-time data, production of advanced analyses, and the ability to customize reports to meet your needs.
Connect Amazon Redshift to Looker Studio
Centralize data in Amazon Redshift with Kondado and connect it to Looker Studio to build interactive dashboards.
Register Redshift as a destination in Kondado
Log in to Kondado and add your Redshift cluster as a destination using endpoint, port, database, user, and password.
Replicate sources into Redshift
Configure the sources you need (ads, CRM, e-commerce, ERPs) and set Kondado to load them into Redshift at the frequency you choose.
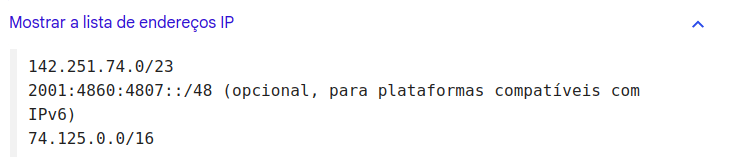
Allow Looker Studio IPs in your Redshift security group
On AWS, edit the security group attached to your Redshift cluster and add inbound rules for the Looker Studio IP ranges listed in Google's documentation.
Create the Redshift data source in Looker Studio
In Looker Studio, click Create > Data Source, choose Amazon Redshift, fill in connection details, and click Authenticate.
Pick a table and start building visuals
Select the Redshift table you want to use, click Connect, and start dragging fields into charts, scorecards, and tables in your report.
Share dashboards and review pipeline cadence
Share the report with your team. Adjust the Kondado pipeline schedule if you need fresher data — dashboards reflect whatever is currently in Redshift.