This step-by-step guide explains how to add Kondado data to Looker Studio for pipelines whose destination is Via Kondado. In these cases, the data can be added directly as a data source in Looker Studio by using the table URL generated by the pipeline.
- Getting the Table URL from Kondado
- Adding the Data Source in Looker Studio
- Renaming the Data Source (Optional)
Getting the Table URL from Kondado
If you want to include data from a Kondado pipeline in Looker Studio, follow the steps below:
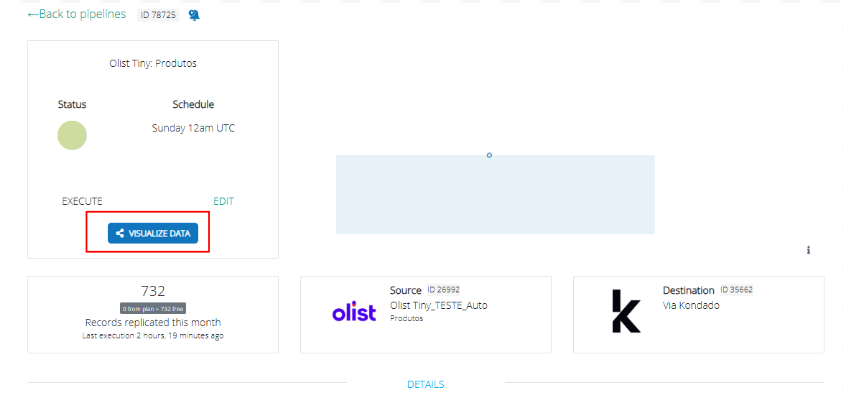
- Access your pipeline in Kondado and click View data.
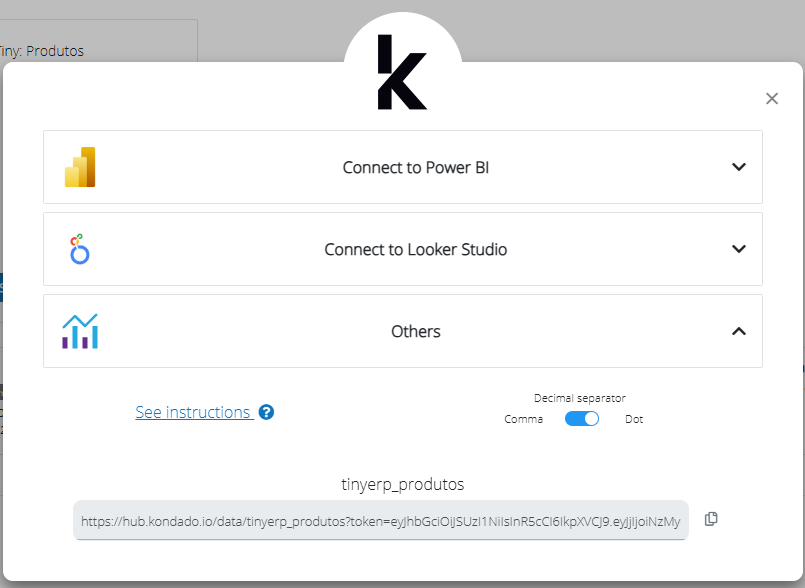
- Expand the Others option.
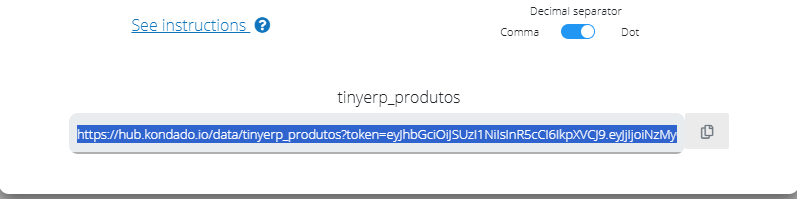
- Copy the table URL.
Adding the Data Source in Looker Studio
Now, in Looker Studio:
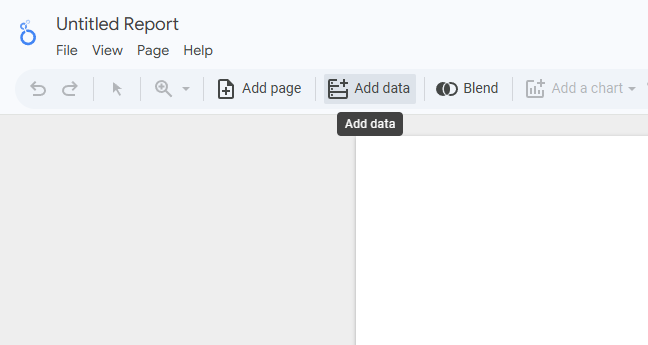
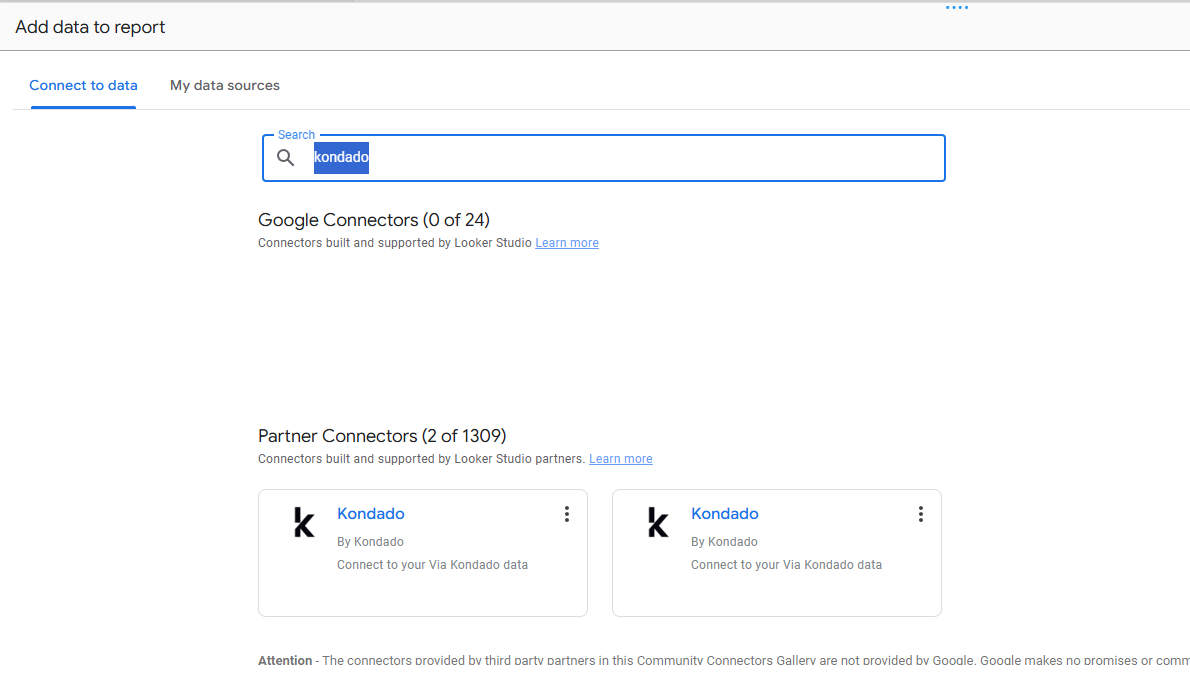
- Click Add data.
- Type Kondado in the search bar and select the connector (it may take a few seconds to appear).
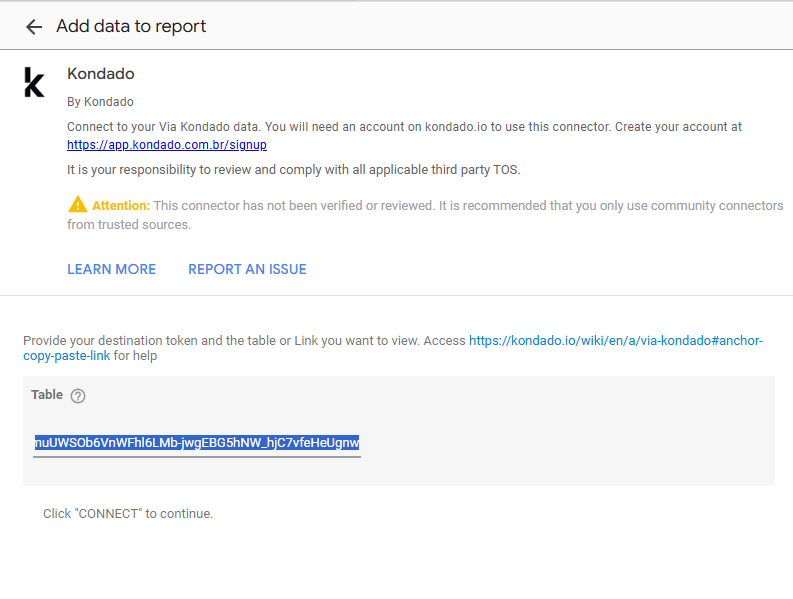
- Paste the table URL into the Table field.
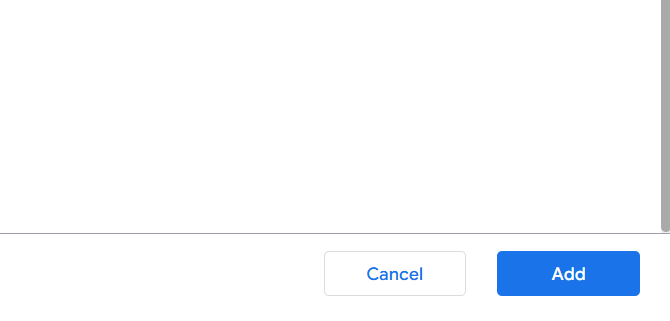
- Click Add.
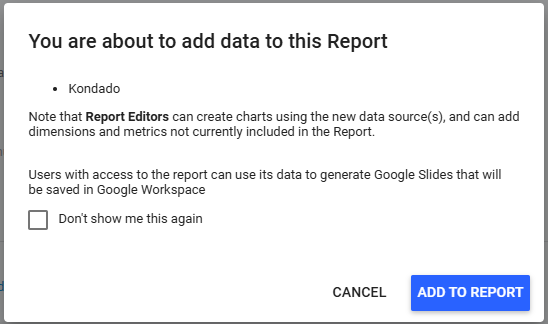
- If a confirmation message appears, click Add to report.
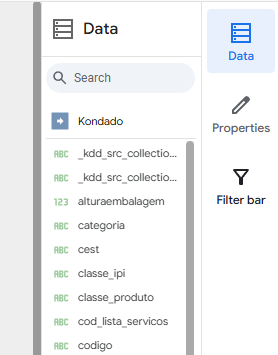
Done! The Kondado data source has been successfully added to Looker Studio.
Renaming the Data Source (Optional)
If you want to change the name of the data source for better organization:
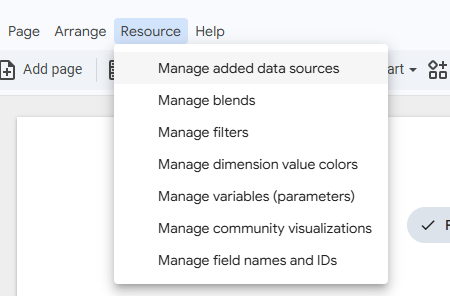
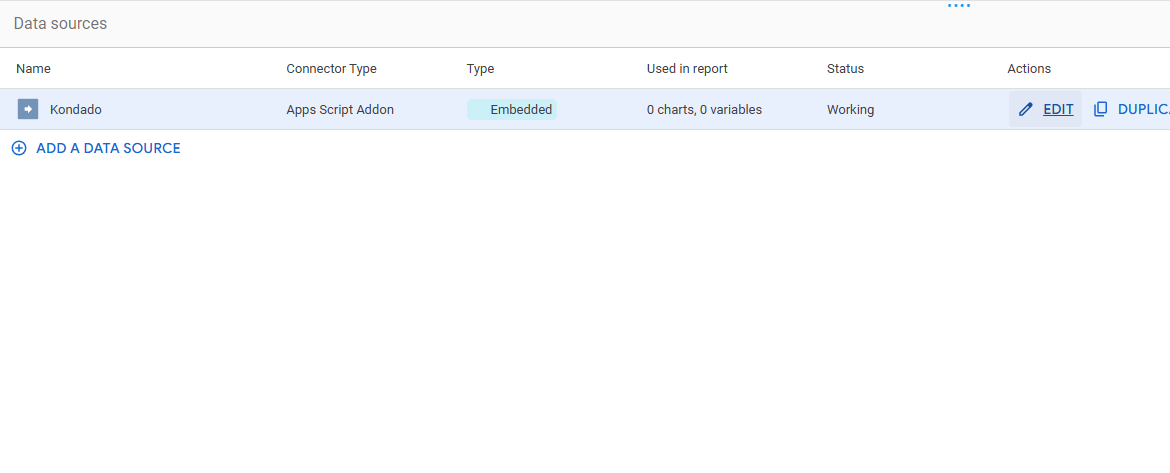
- Go to Resource > Manage added data sources.
- Click Edit.
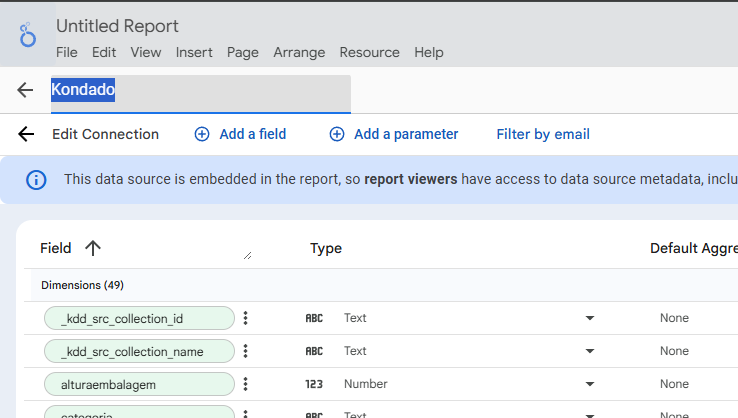
- In the top-right corner, change the data source name from Kondado to the desired name.
Related Documentation
- Looker Studio Via Kondado Connection - Comprehensive guide including first-time authorization and multiple destinations
- Via Kondado Destination - Overview of the Via Kondado destination
- Count Distinct Issue Fix - Workaround for count distinct behavior in Looker Studio
Add a Kondado Table to Looker Studio
Connect your Kondado pipeline data to Looker Studio using the Via Kondado destination and the table URL generated by your pipeline.
Get the table URL from Kondado
Access your pipeline in Kondado and click View data. Expand the Others option and copy the table URL that was generated for your pipeline. This URL is what allows direct data visualization without additional exports.
Add Kondado as a data source in Looker Studio
In Looker Studio, click Add data. Type Kondado in the search bar and select the Kondado connector. Paste the table URL into the Table field, then click Add. If a confirmation message appears, click Add to report.
Rename the data source (optional)
For better organization, go to Resource > Manage added data sources, click Edit, and change the data source name from "Kondado" to your preferred name in the top-right corner.
Explore related visualization resources
After connecting your data, you can explore pre-built dashboard templates or check data-to-dashboards guides to accelerate your reporting.